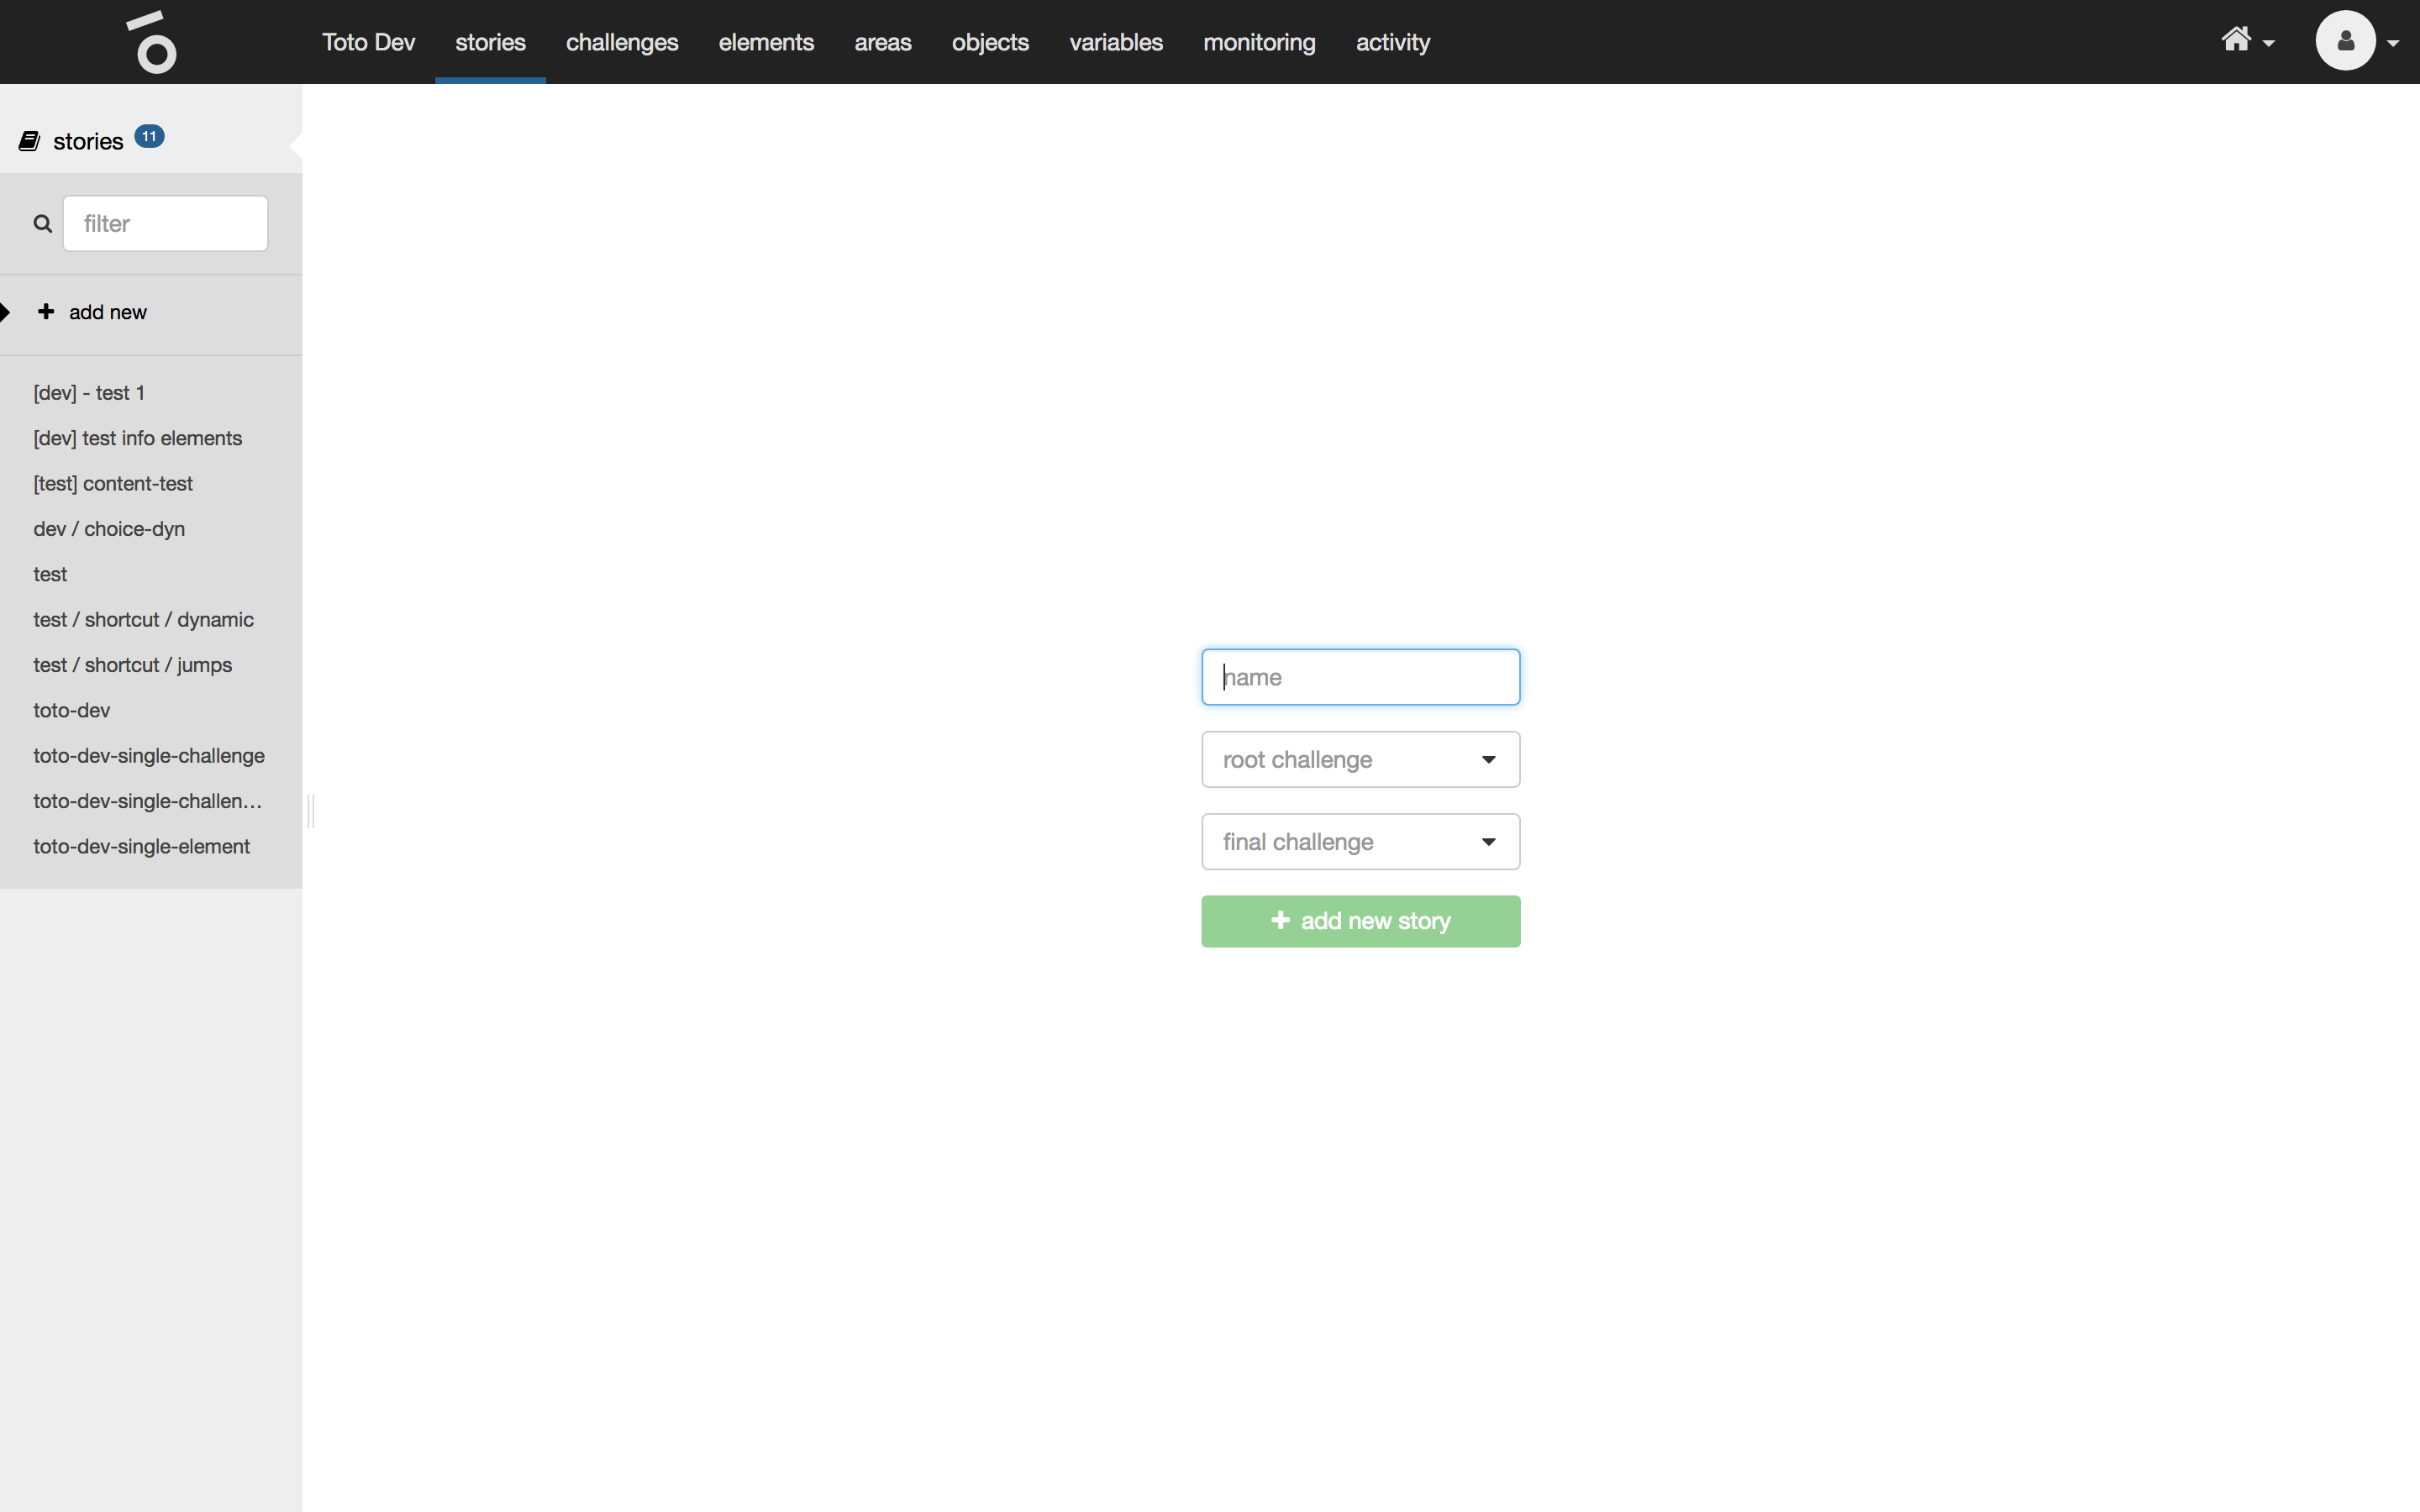
Add new
To add a new story enter the name, select the root challenge and final challenge and click on add new story.
General
The general tab of a selected story shows the following properties:
| name | type | description |
|---|---|---|
name |
text |
Unique name which is used internally (unique in scope of all stories). It is shown in the list of all stories in the left hand menu of the interface. Users do not see the name. |
notes |
text |
A comment which is used internally. Could be helpful when working collaboratively. |
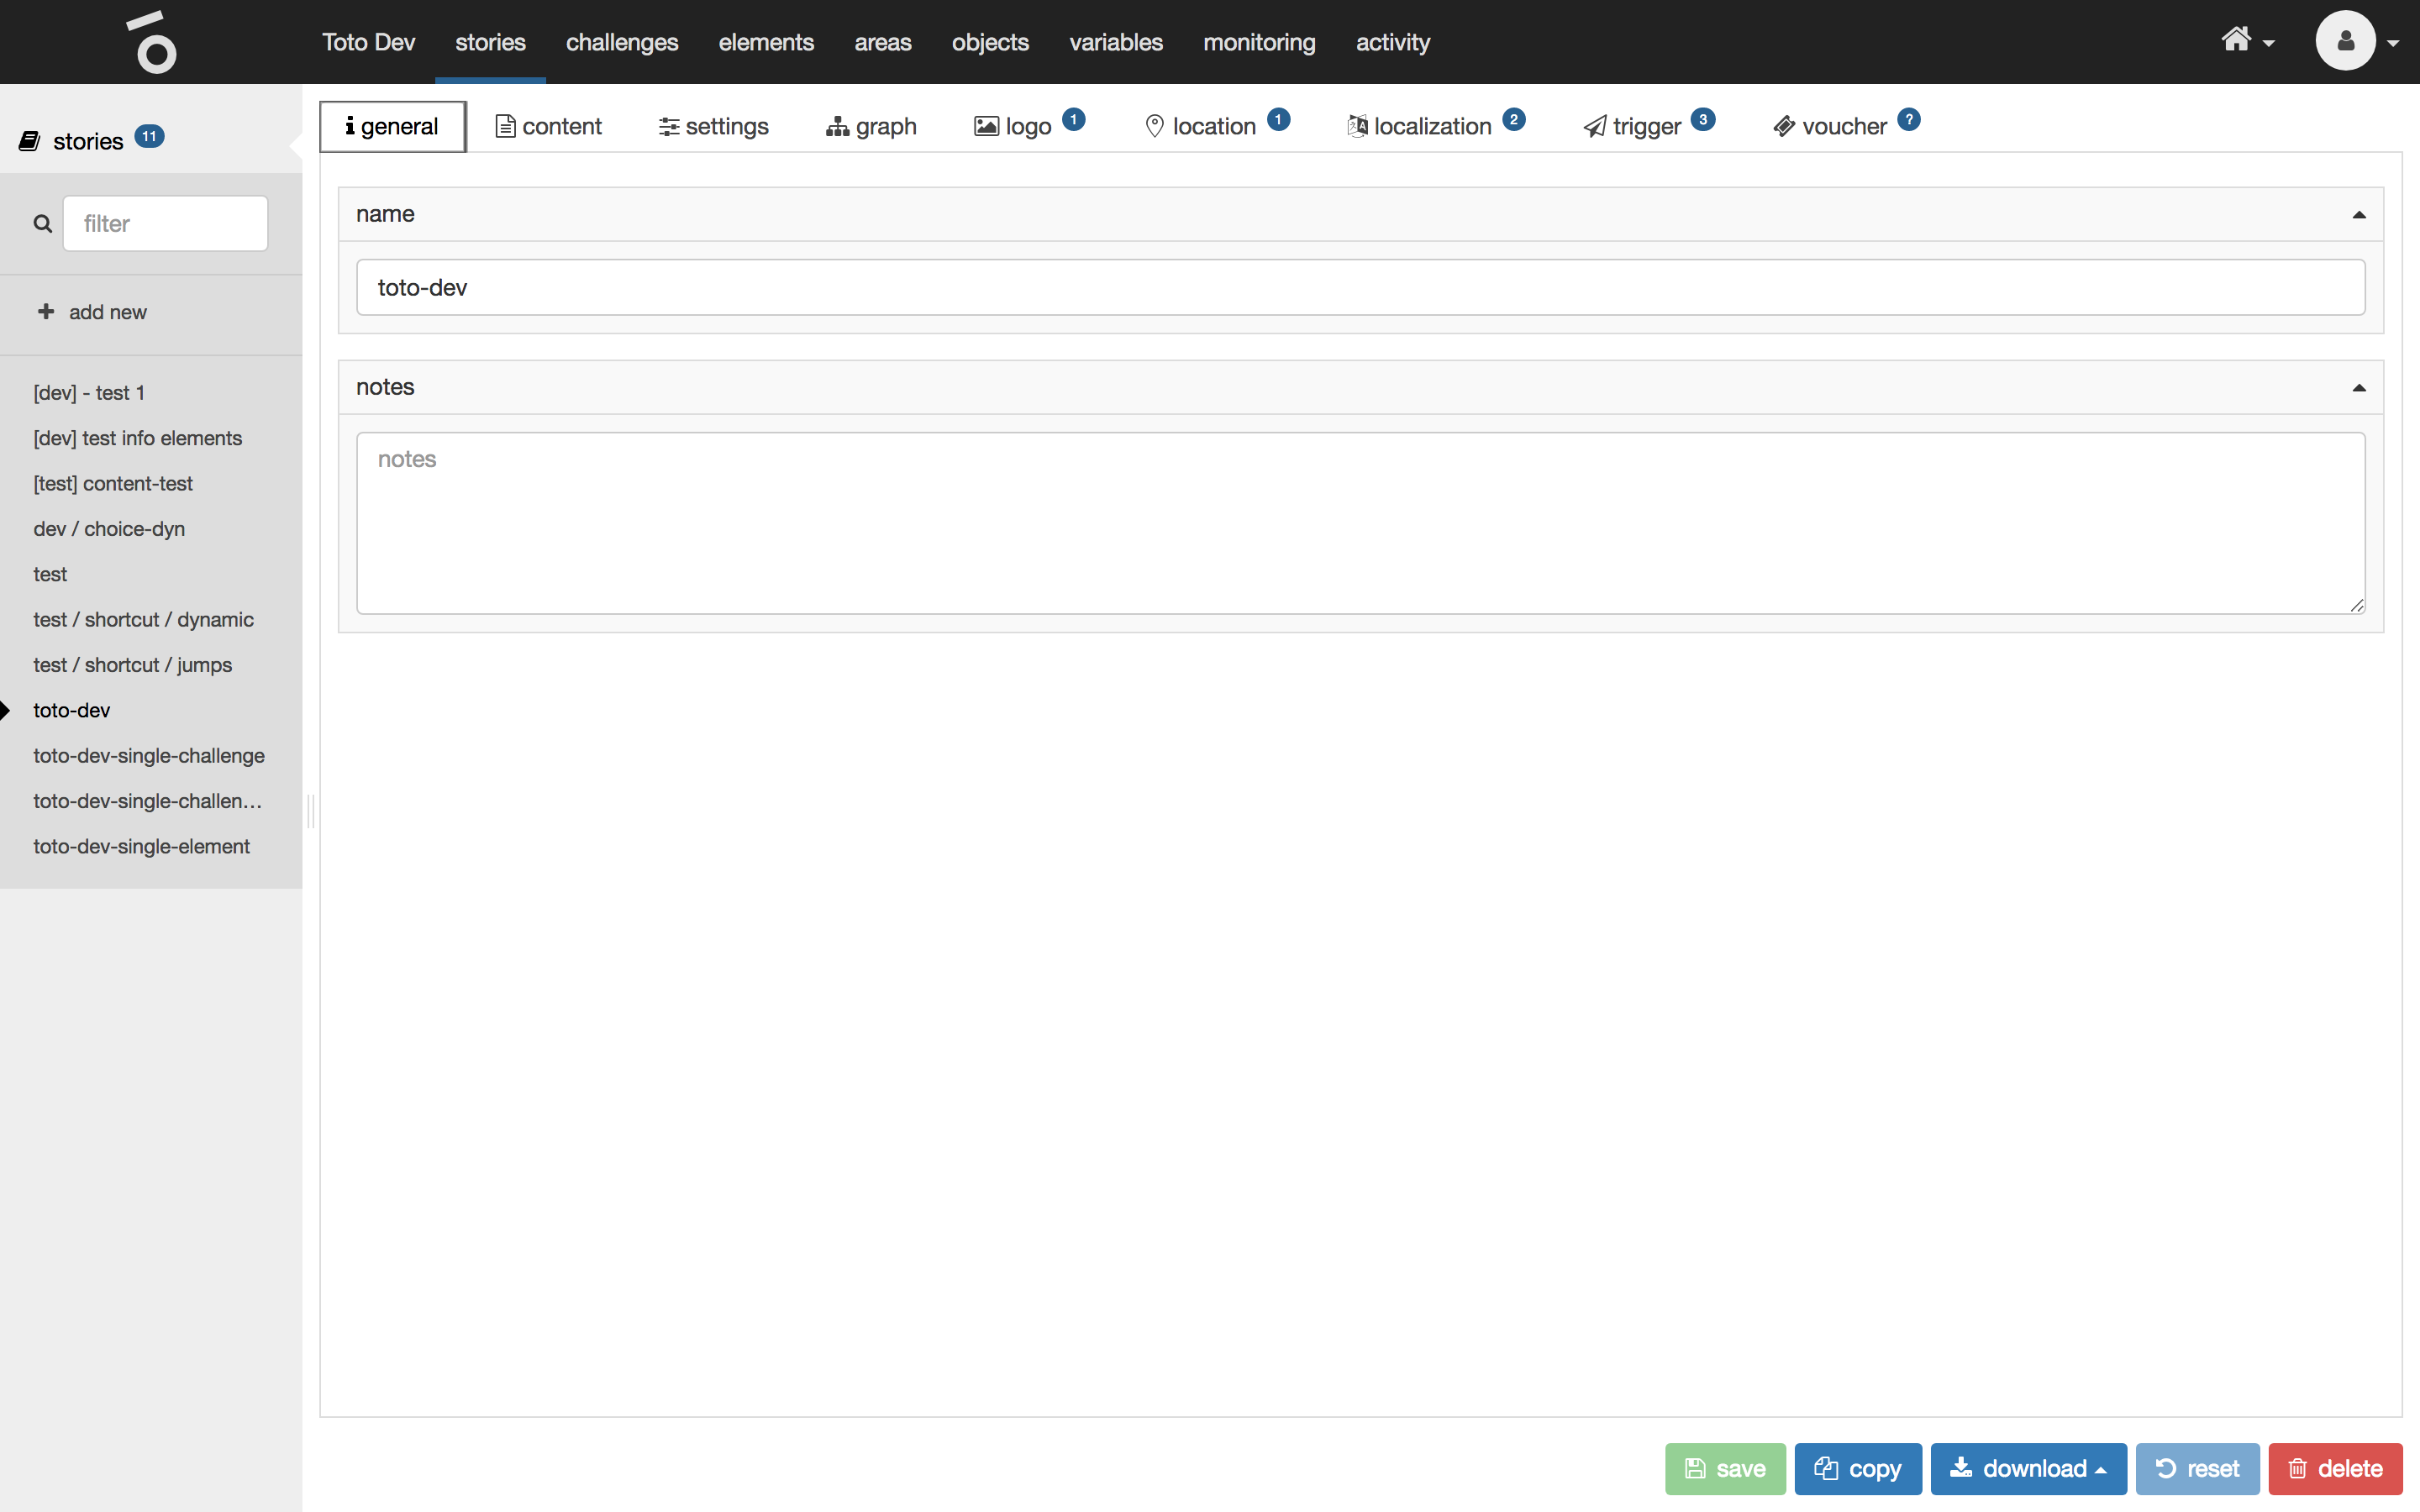
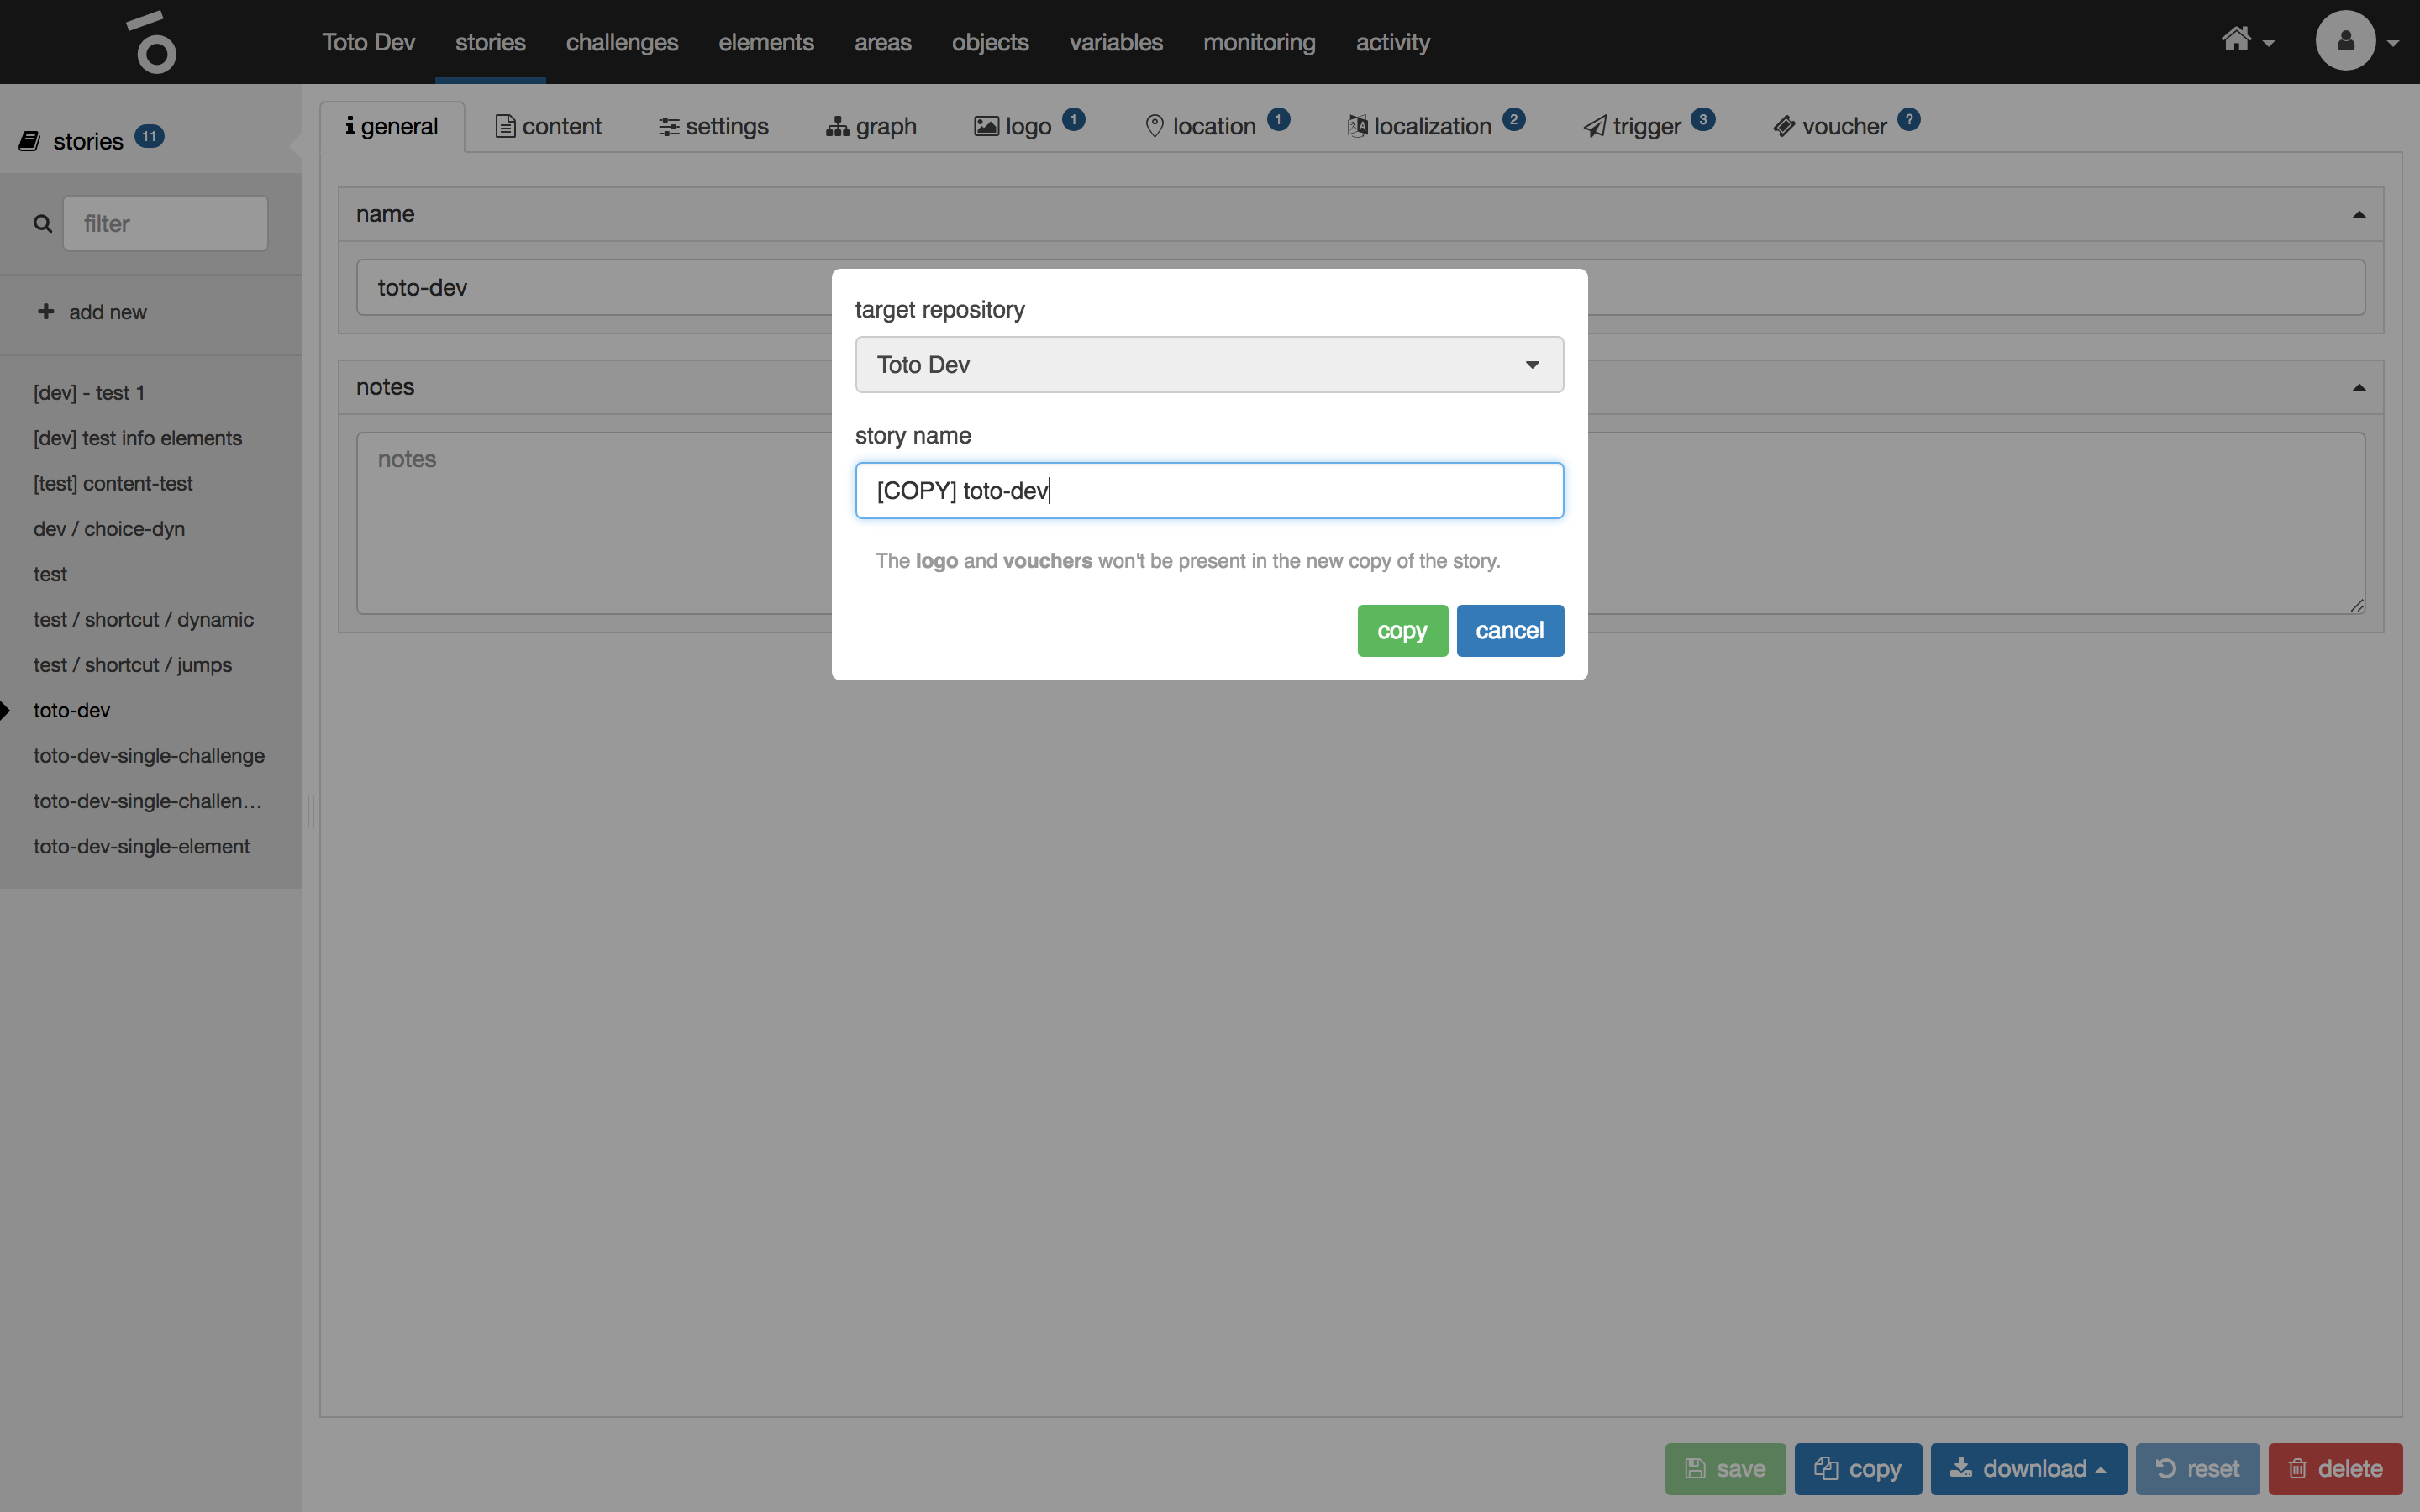
Copy the story to the same repository by clicking on copy at the very bottom.
Download the story footage by clicking on download > story footage at the very bottom.

Content
The content tab of a selected story shows the following properties:
| name | type | description |
|---|---|---|
title |
multi-language text |
Title of the story. |
description |
multi-language markdown |
Description of the story which is accessible to the user after the story has been started. If no description is defined the description of the repository is used as a fallback. |
public info |
multi-language markdown |
Contains any information about the story which should be available to the users before they start the story. After scanning a voucher the public info is shown within the app or on the website. |

The preview of the description and public info can be seen on the right hand side.
Insert a specific markdown asset to the public info or description by clicking on the little paperclip button of the particular multi-language markdown field.

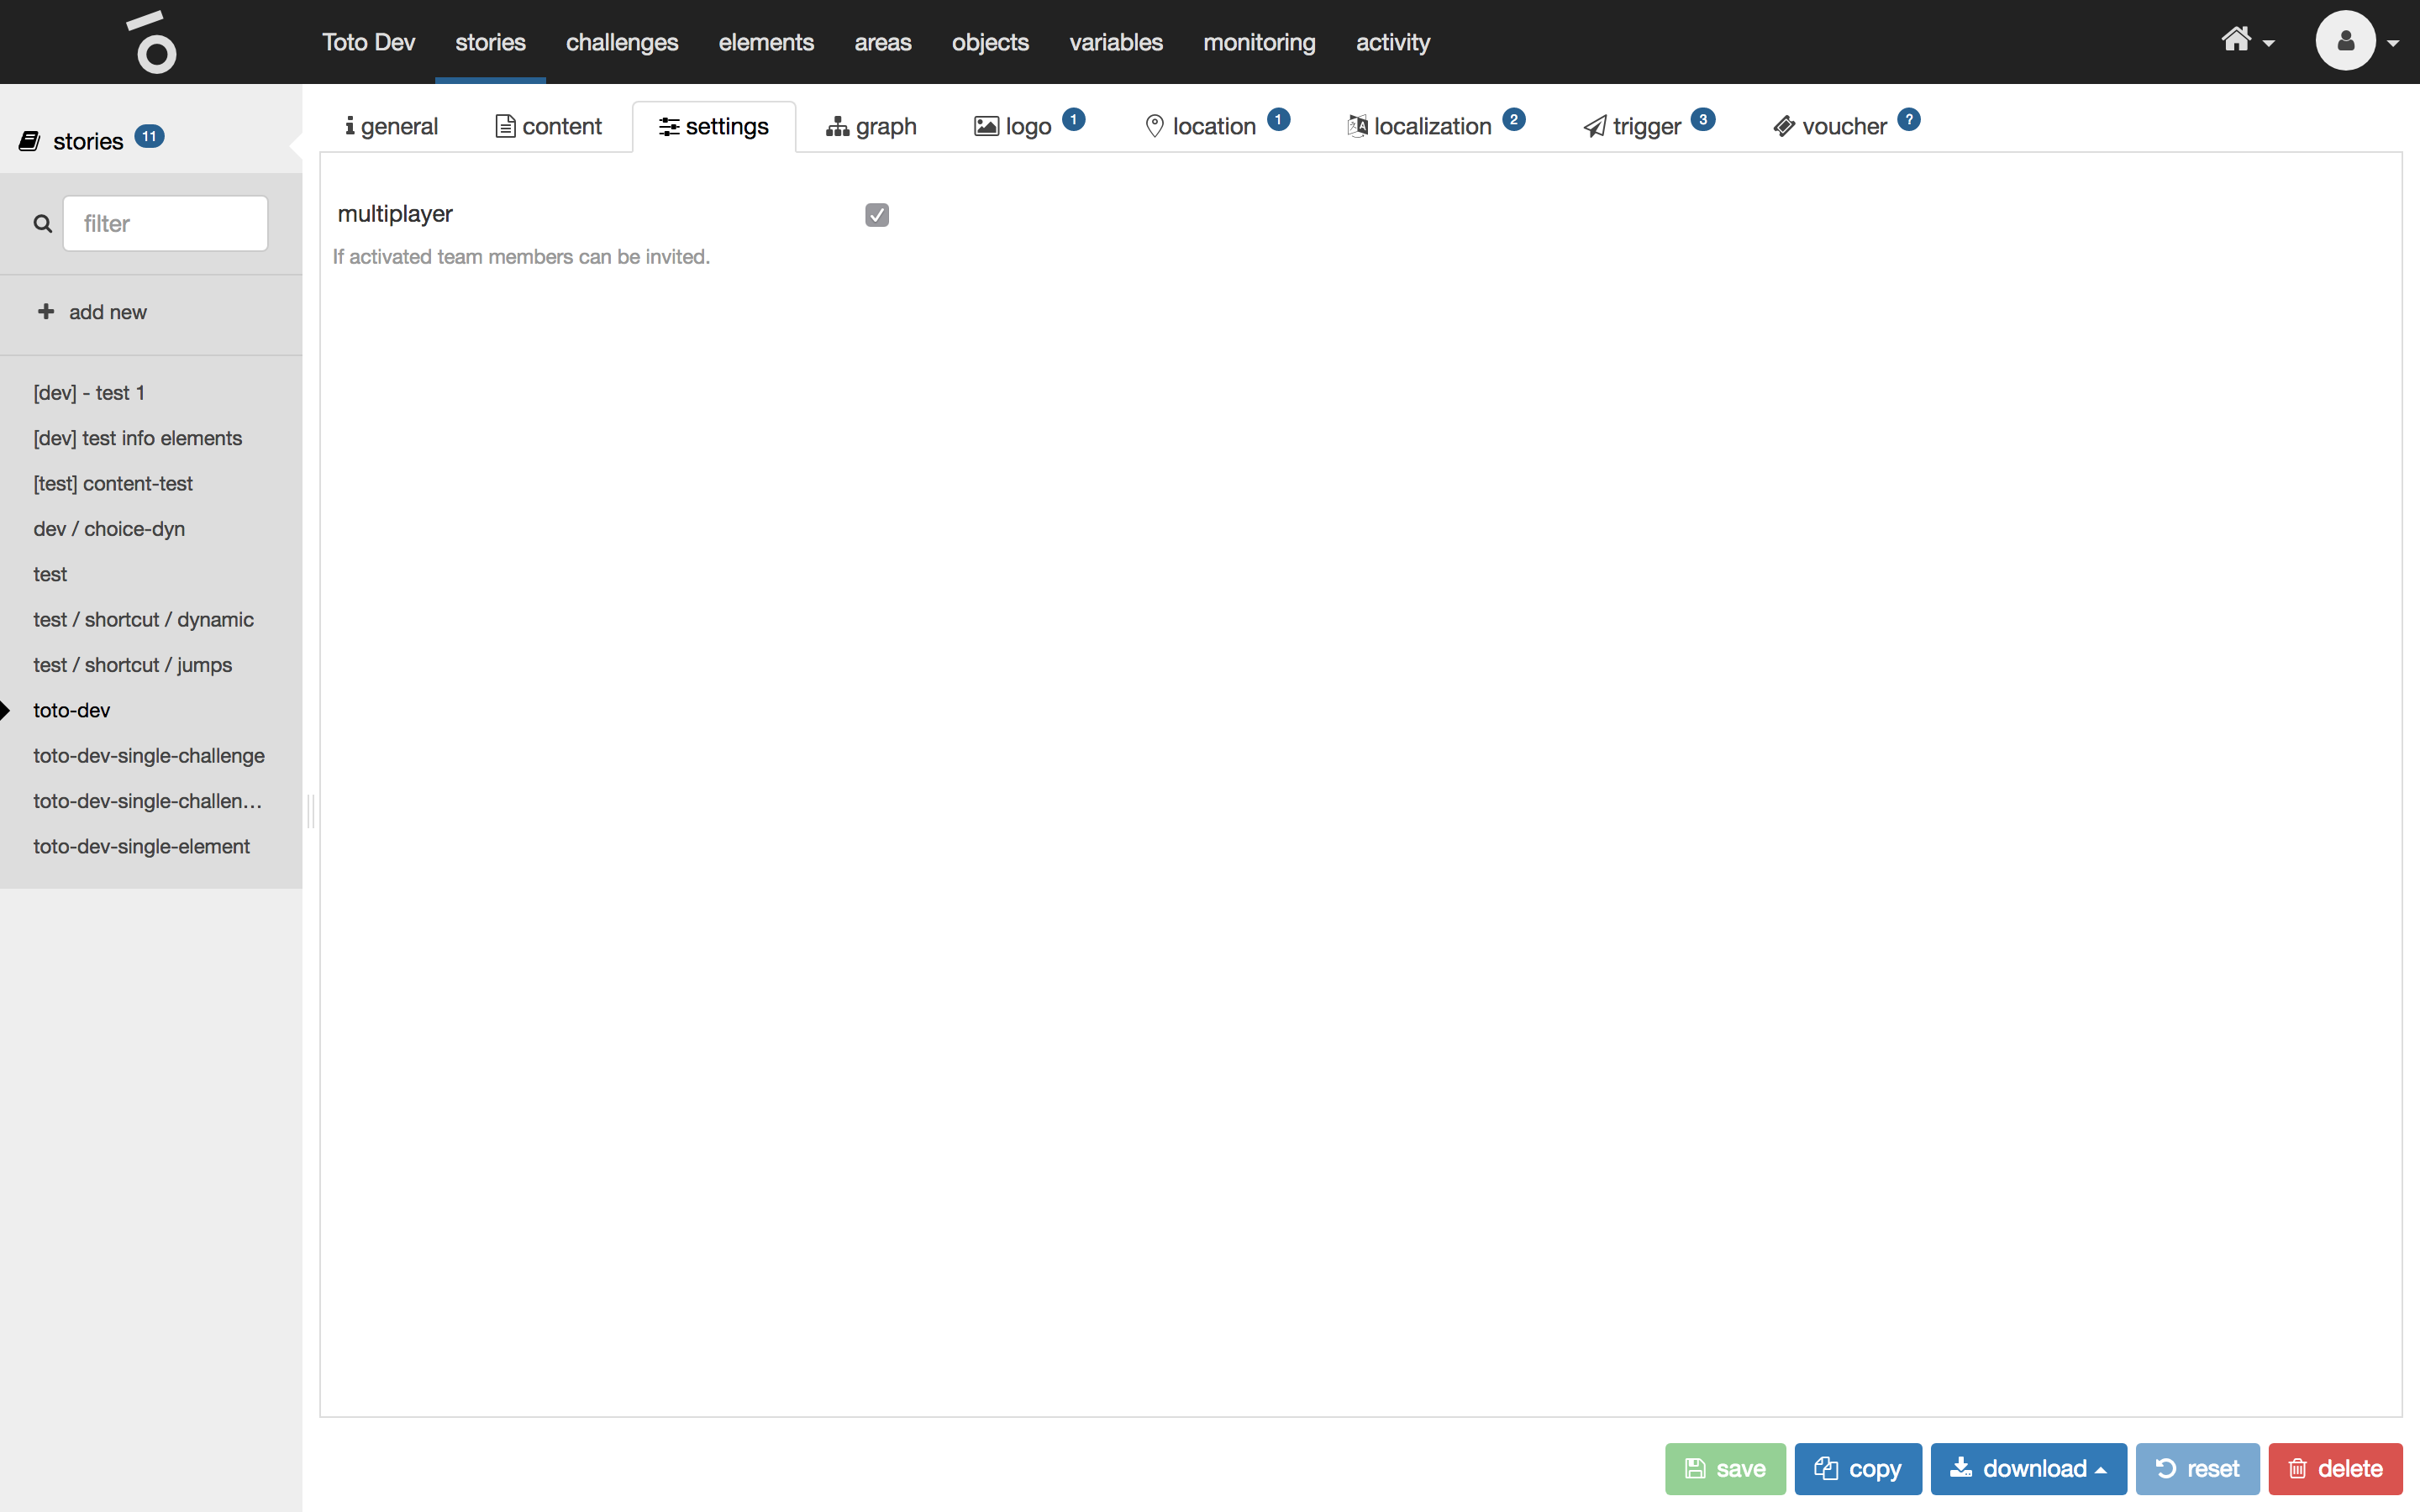
Settings
The settings tab of a selected story shows the following properties:
| name | type | description |
|---|---|---|
multiplayer |
check |
Defines if it’s a multiplayer story and user can invite other players. |
Graph
The graph tab of a selected story shows the progression of the challenges in the story, the start and end challenge for the story. It contains the following properties:
| name | type | description |
|---|---|---|
root challenge |
selection |
This challenge will be the first one available to the user when starting the story. The available challenges are the ones previously created in the challenge tab in the top menu. This must be defined for a valid story to be exist. |
final challenge |
selection |
This challenge will be the last one the user must solve/acknowledge within the story. The available challenges are the ones previously created in the challenge tab in the top menu. This must be defined for a valid story to be exist. |
progress |
list |
Contains all source-target pairs of the graph. Remove a link by clicking the button remove on the right, this will update the graph on the right. Select a source and a target challenge and click the add button on the right. This will create a link between the challenges, displayed in the graph on the right and determines the flow the user takes through the story. The available challenges are the ones previously created in the challenge tab in the top menu. |
associated elements |
list |
Contains all associated elements like coins. |
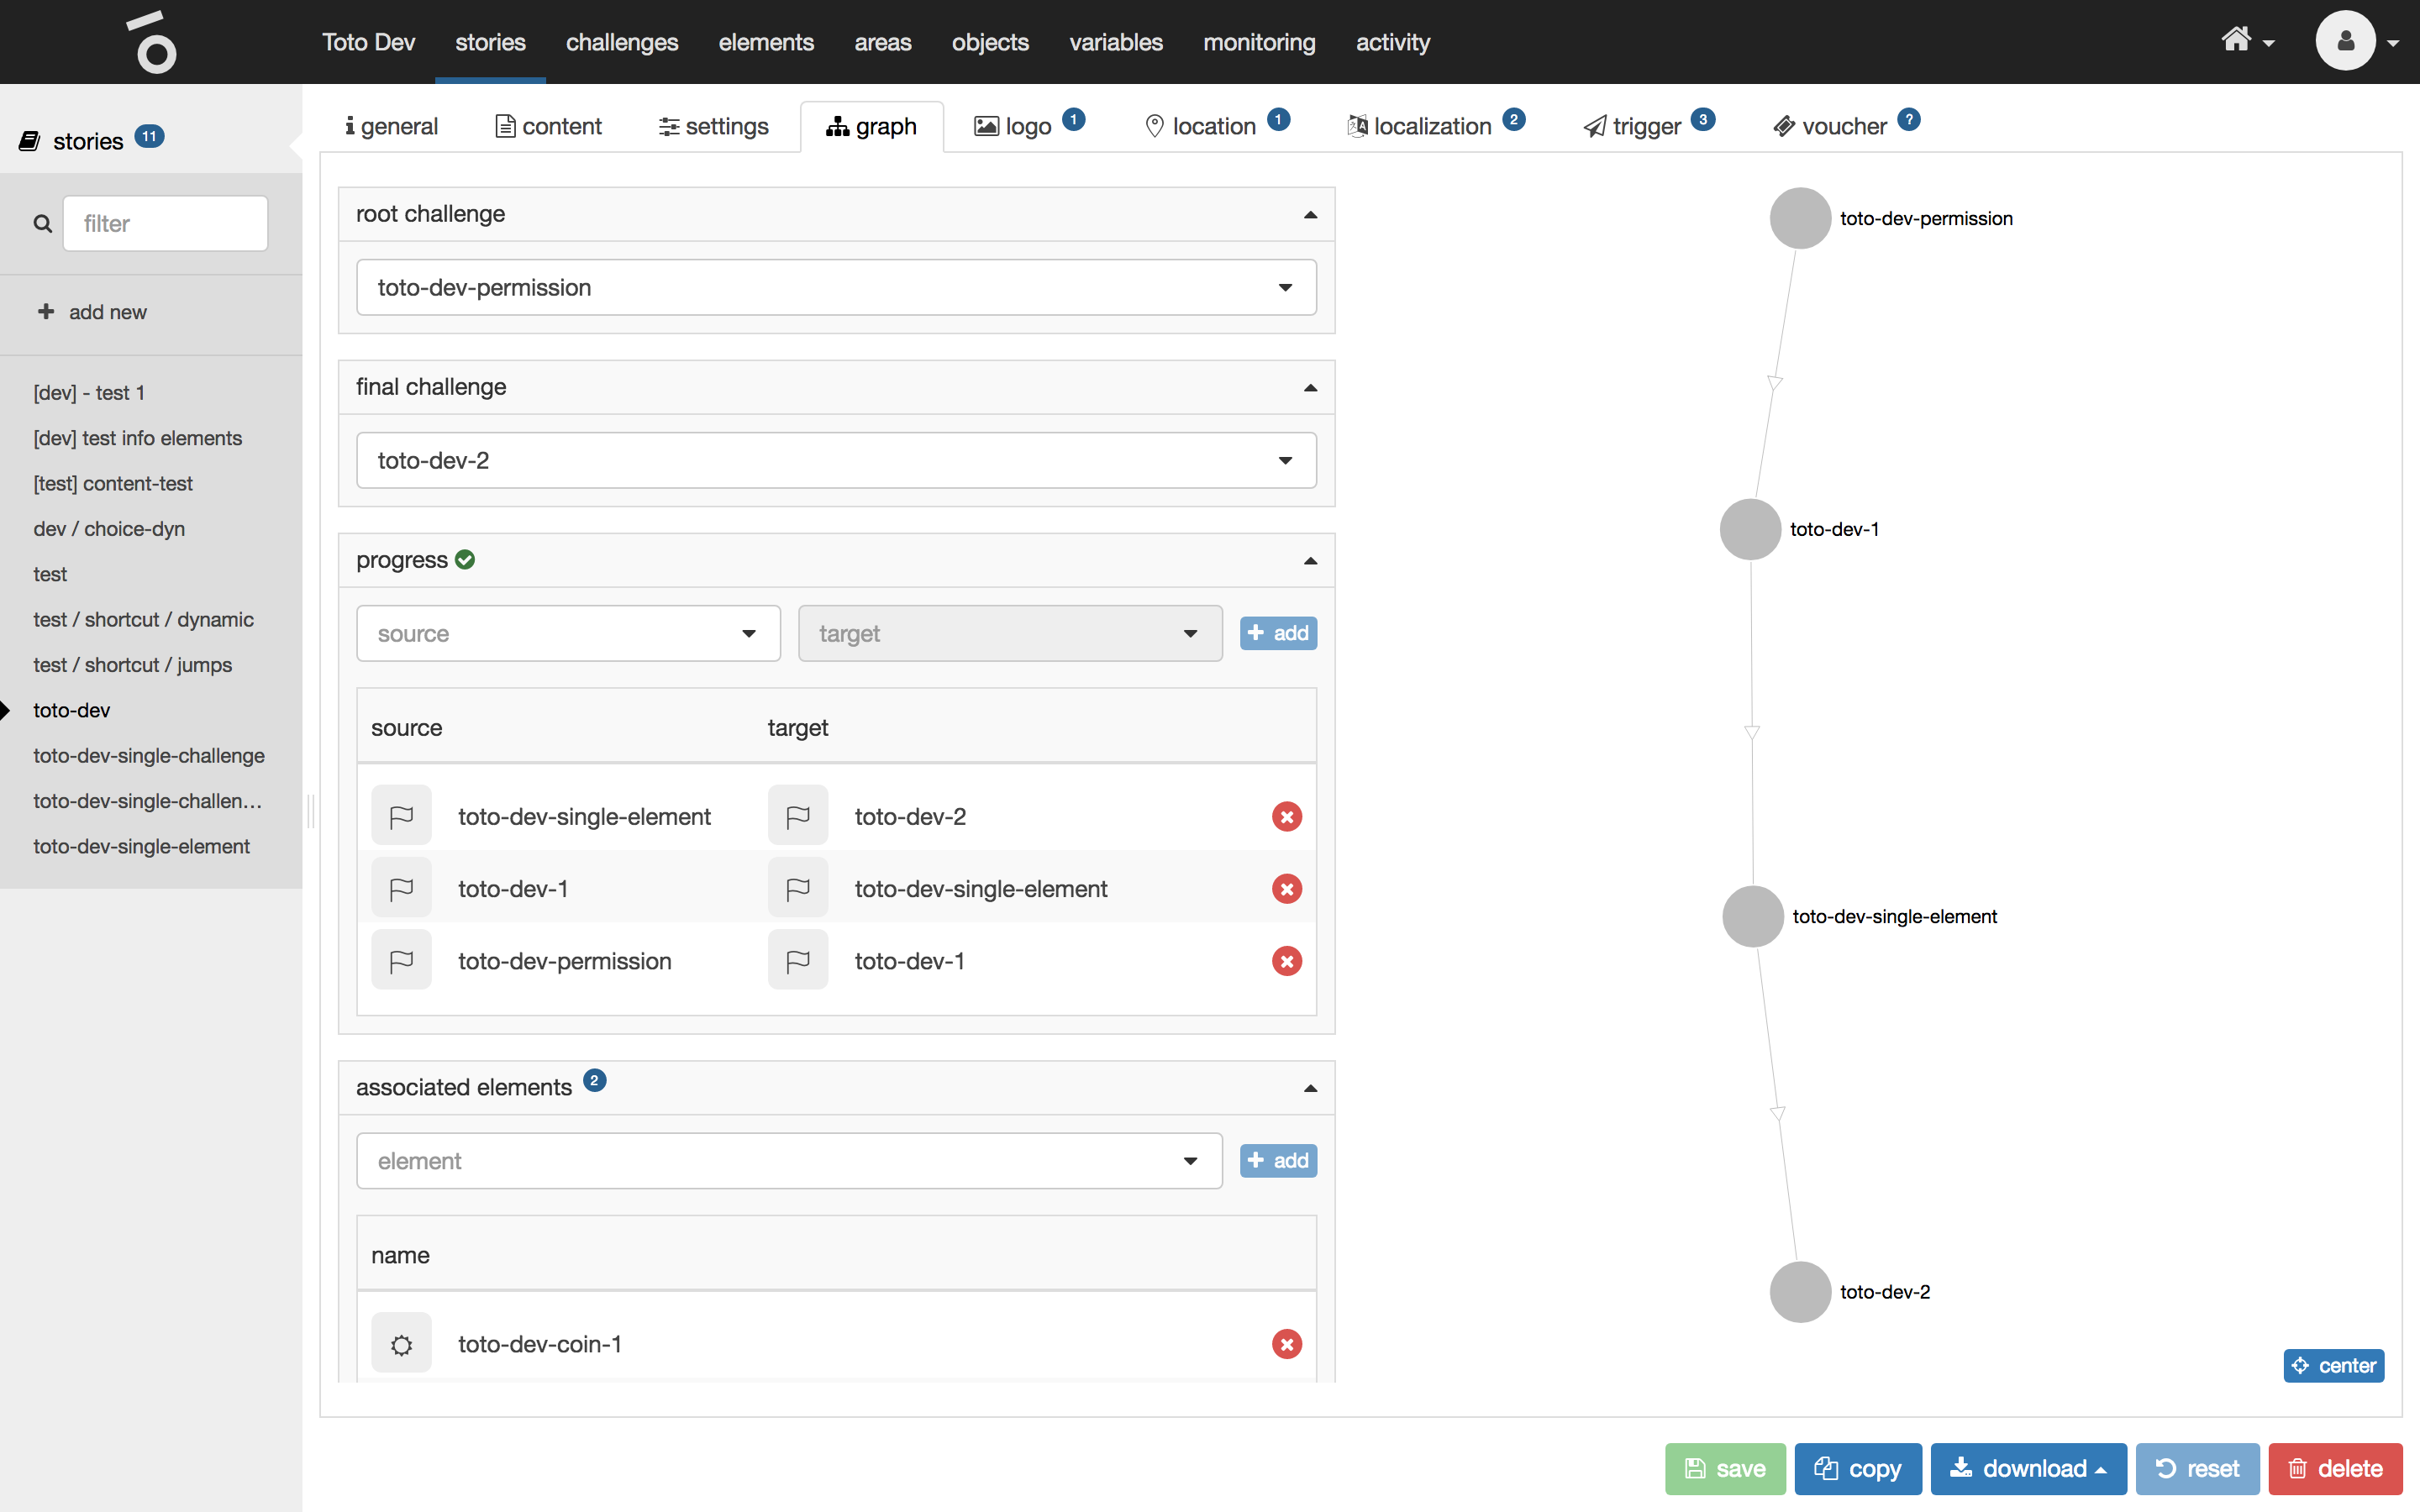
The right hand panel of the story graph tab shows you a graphical rendering of the progression of the challenges in your story. You can click on the challenges and drag the icons around, zoom in and out and recenter the graph by clicking on the blue center button on the right.
Logo
The logo tab of a selected story shows the currently used logo. If no logo is defined the logo of the repository will be used as a fallback.
Upload a new logo by clicking on the button choose file at the very top or by dragging a logo file on to that button. The logo will be saved and appears after being uploaded.
Delete the logo by clicking on the button remove at the very bottom right.
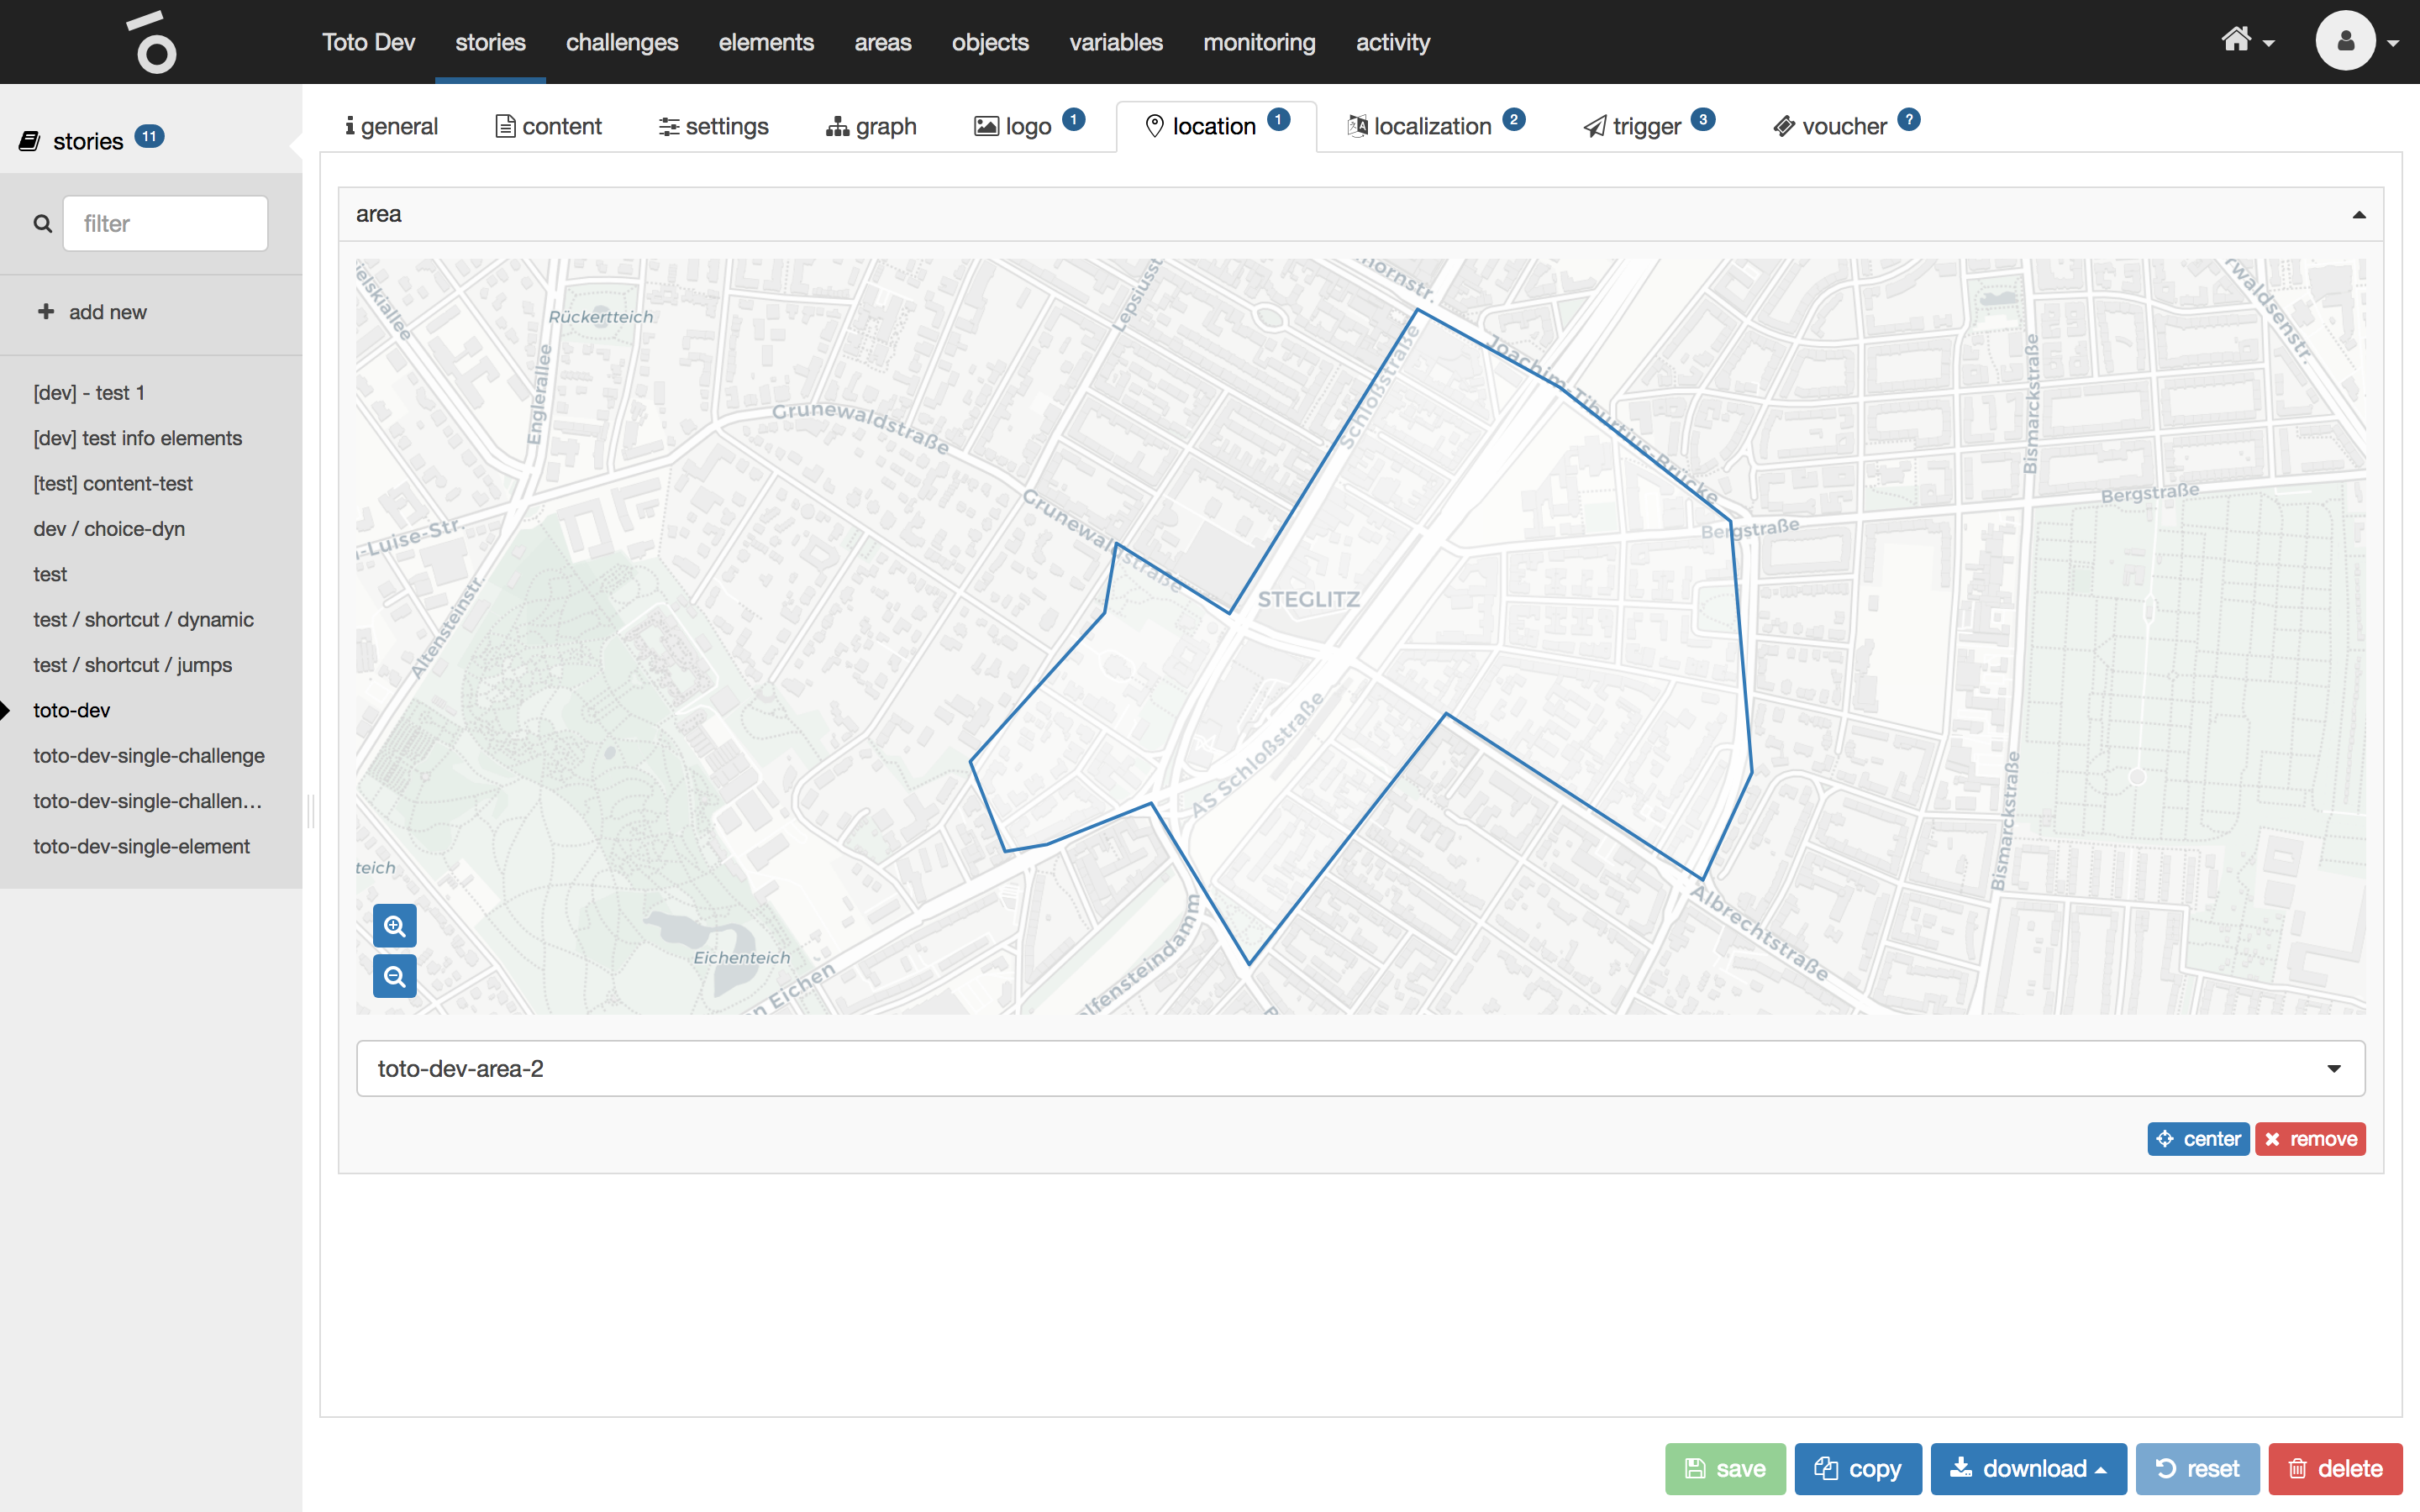
Location
The location tab of a selected story shows the following properties:
| name | type | description |
|---|---|---|
area |
selection |
This property represents the physical location the story takes place in. |
Localization
The localization tab of a selected story is where languages can be assigned to the story. At least one language as the default needs to be defined.
Every defined language will show up as a choosable language in multi-language input fields.
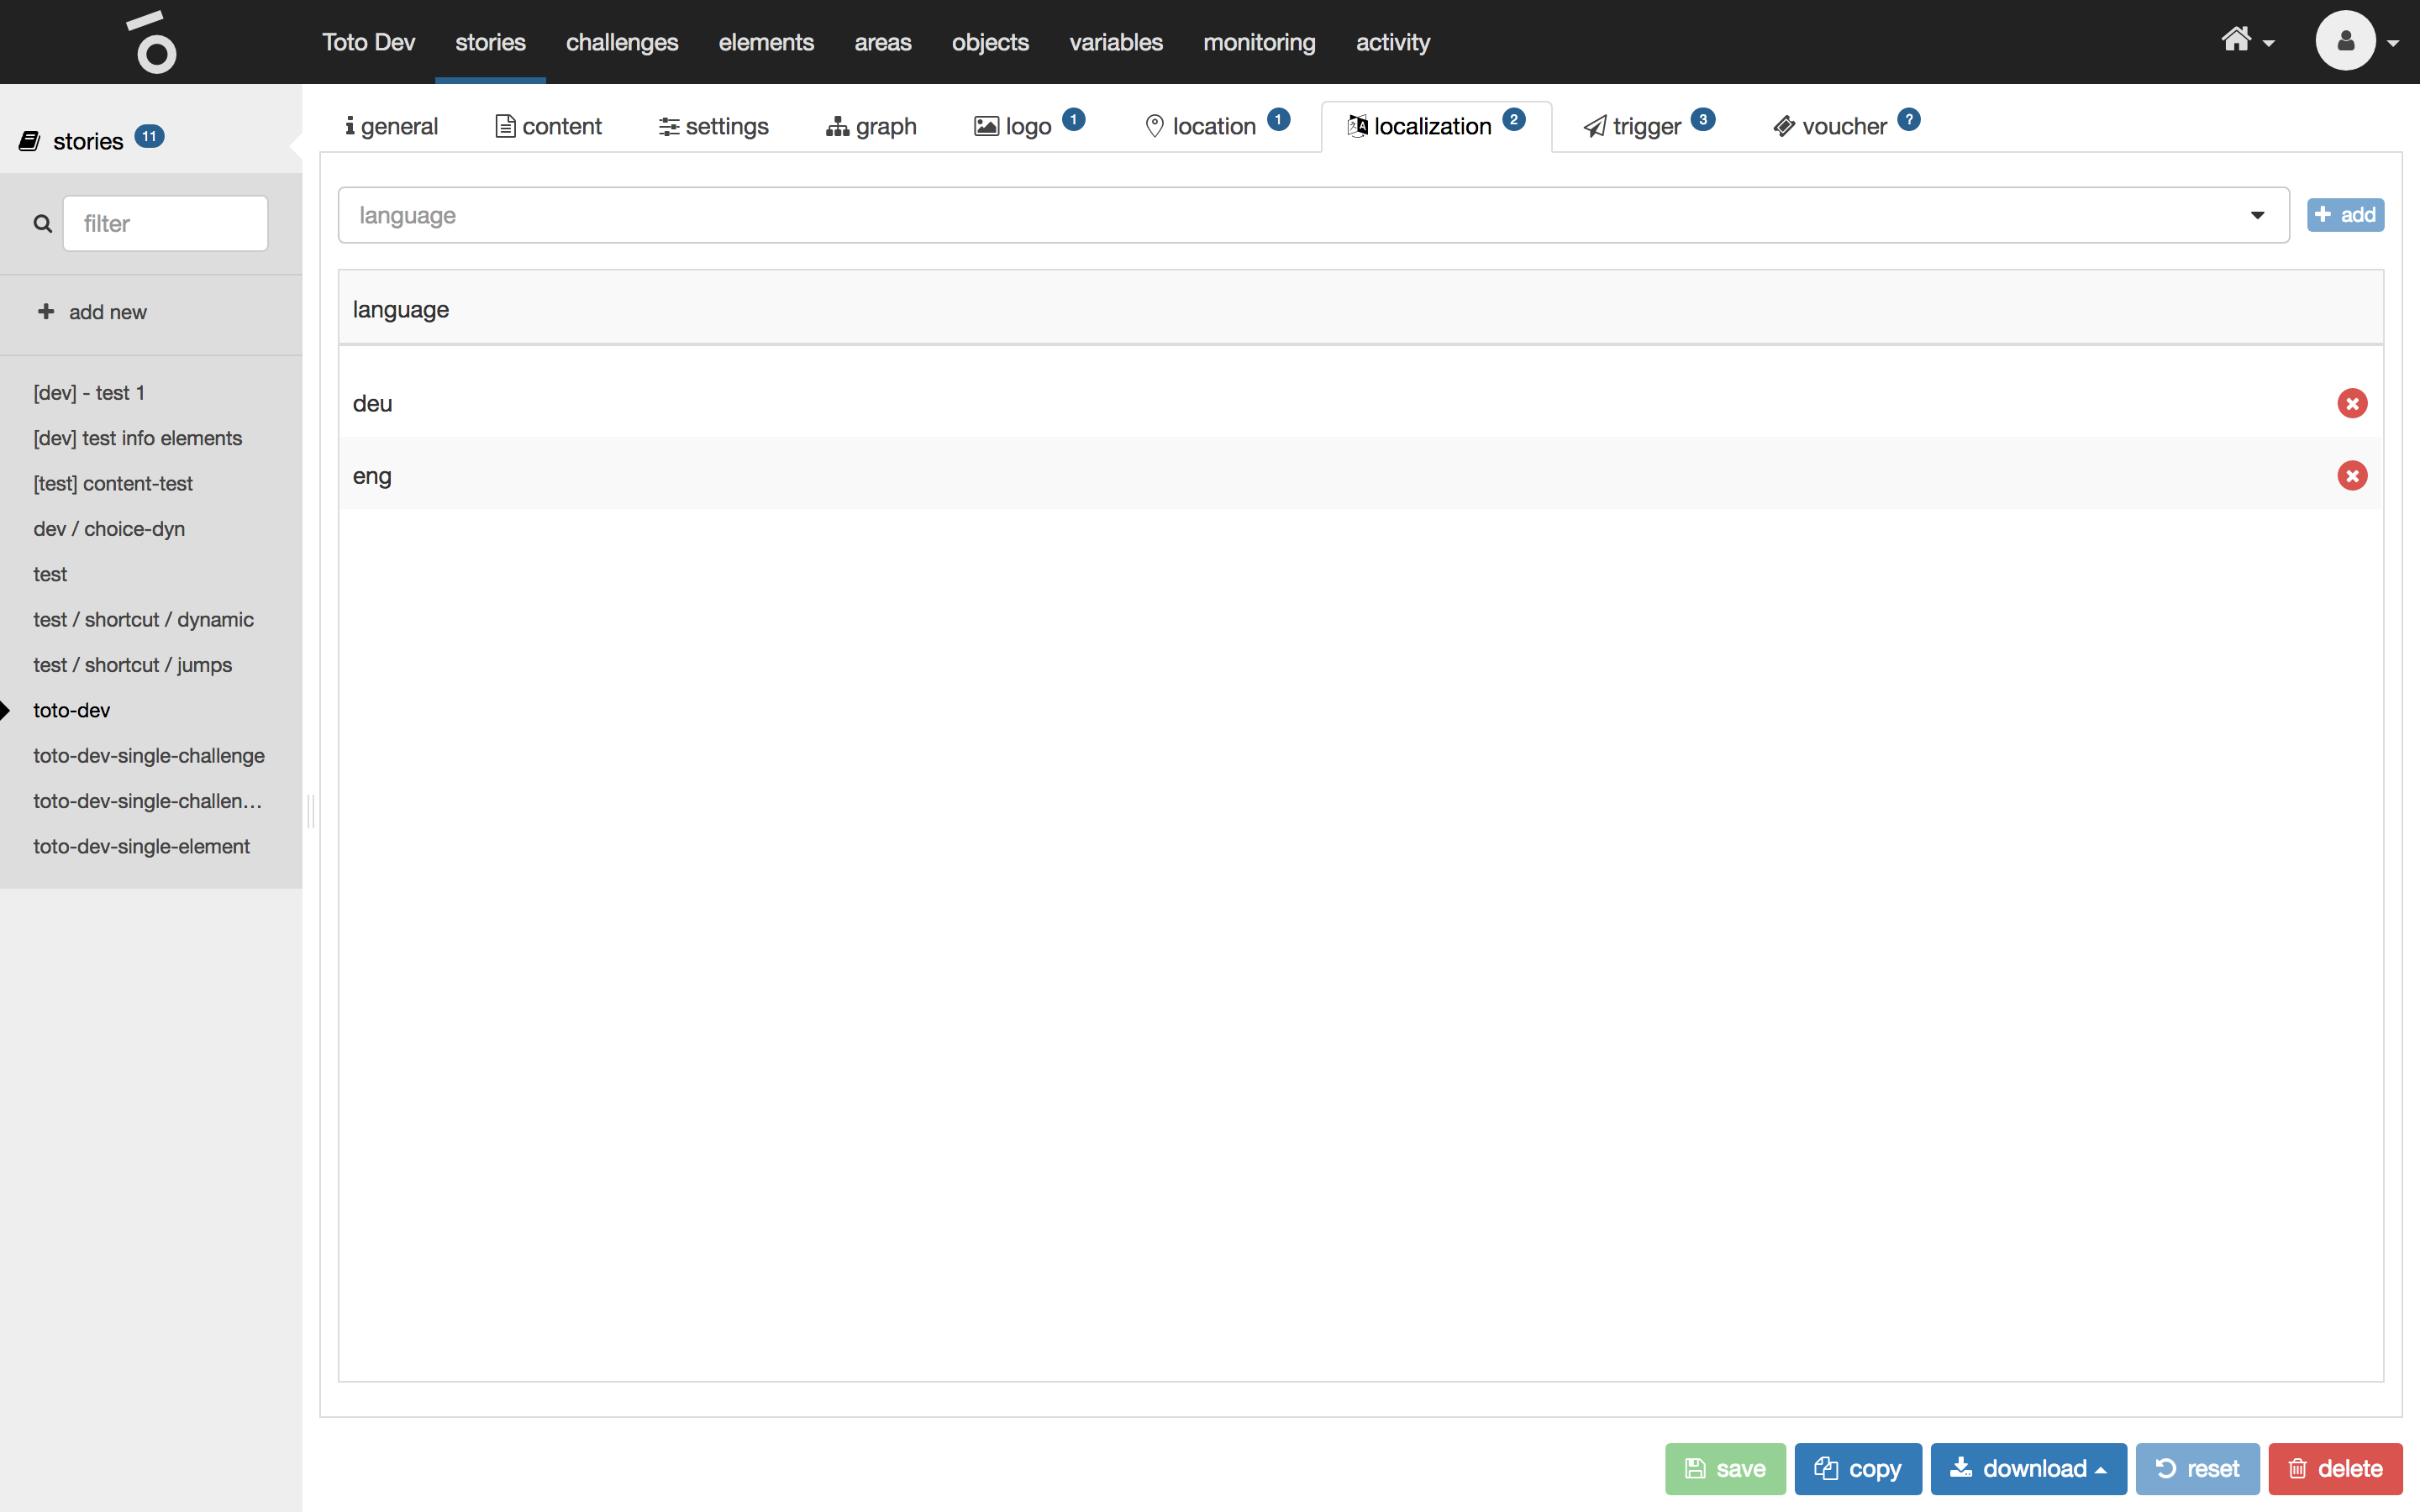
Add a language by selecting a language from the selection dropdown at the very top and clicking on the button add.
Trigger
The trigger tab of a selected story shows the associated triggers. In Toto triggers are defined as a signal for an TotoObject to perform a specific task, defined by a payload. For example a light that can be turned on or off or a lock that could be opened or closed. TotoObjects need to be available to send a trigger to. They can be created in the TotoObject tab in the top menu.
The trigger tab of a selected story shows the following properties:
| name | type | description |
|---|---|---|
trigger |
collection |
For every trigger type triggers can be defined. A trigger can contain multiple pairs of payload and TotoObject. Every payload will be sent to the specific TotoObject. |
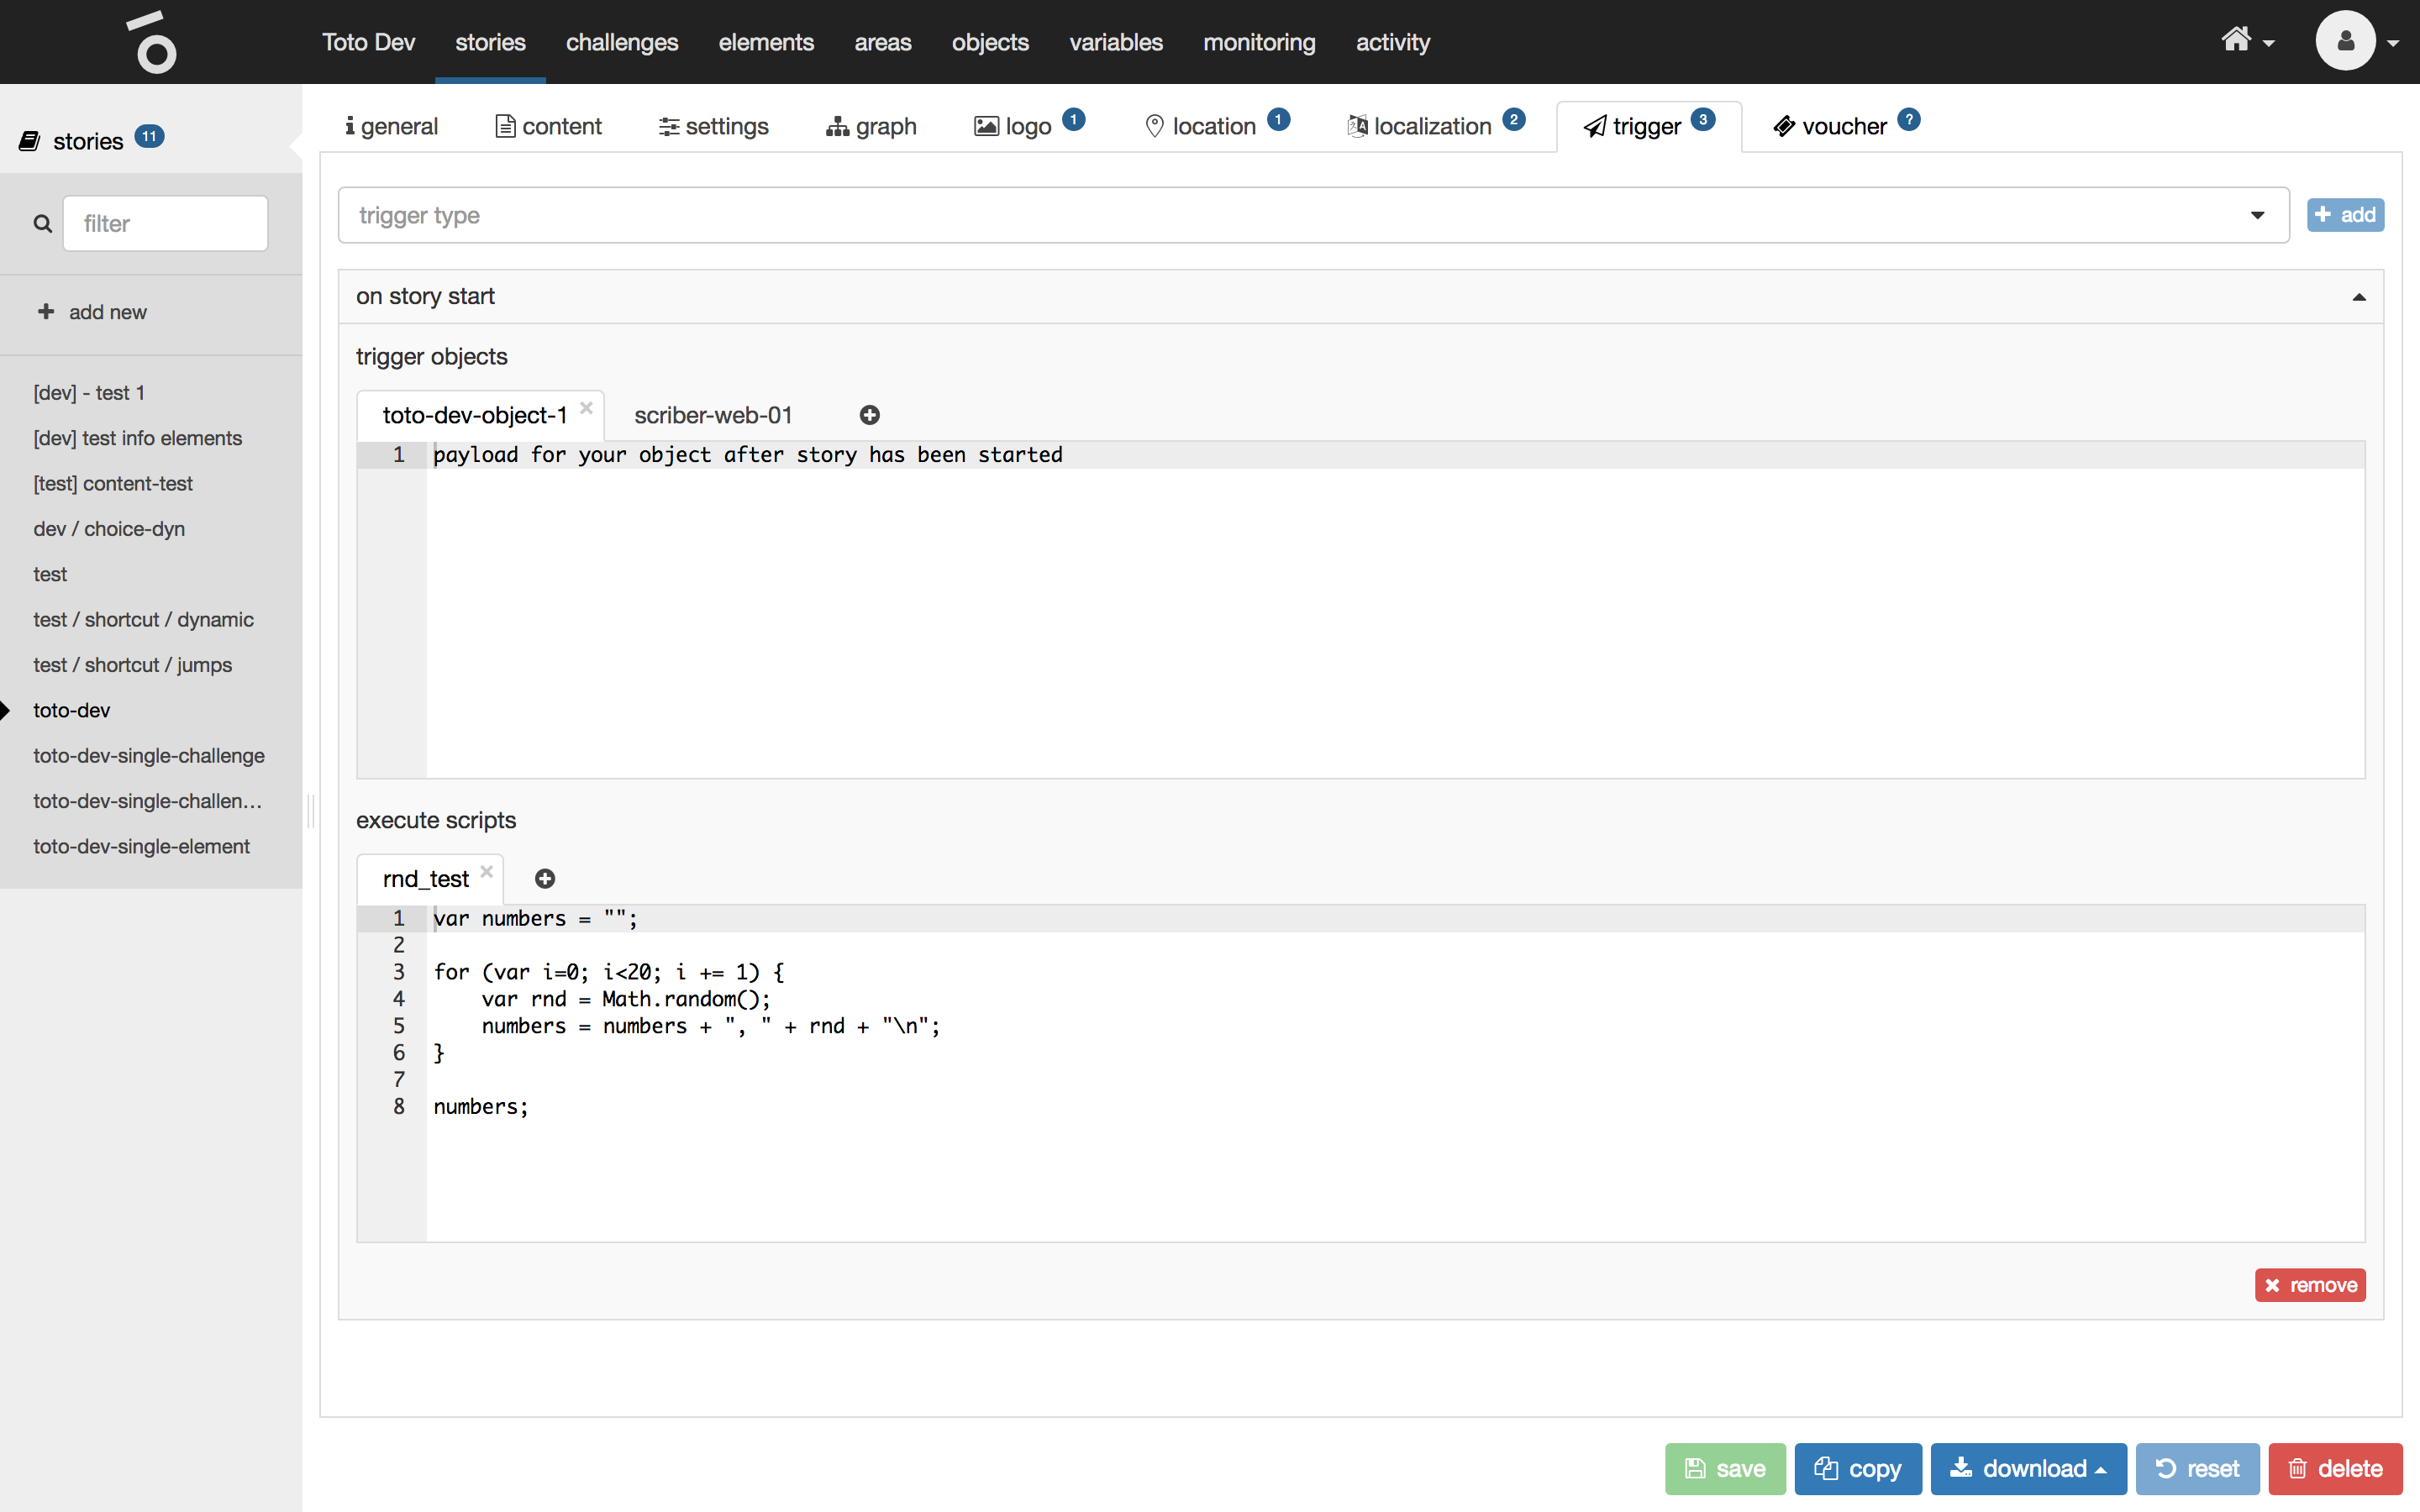
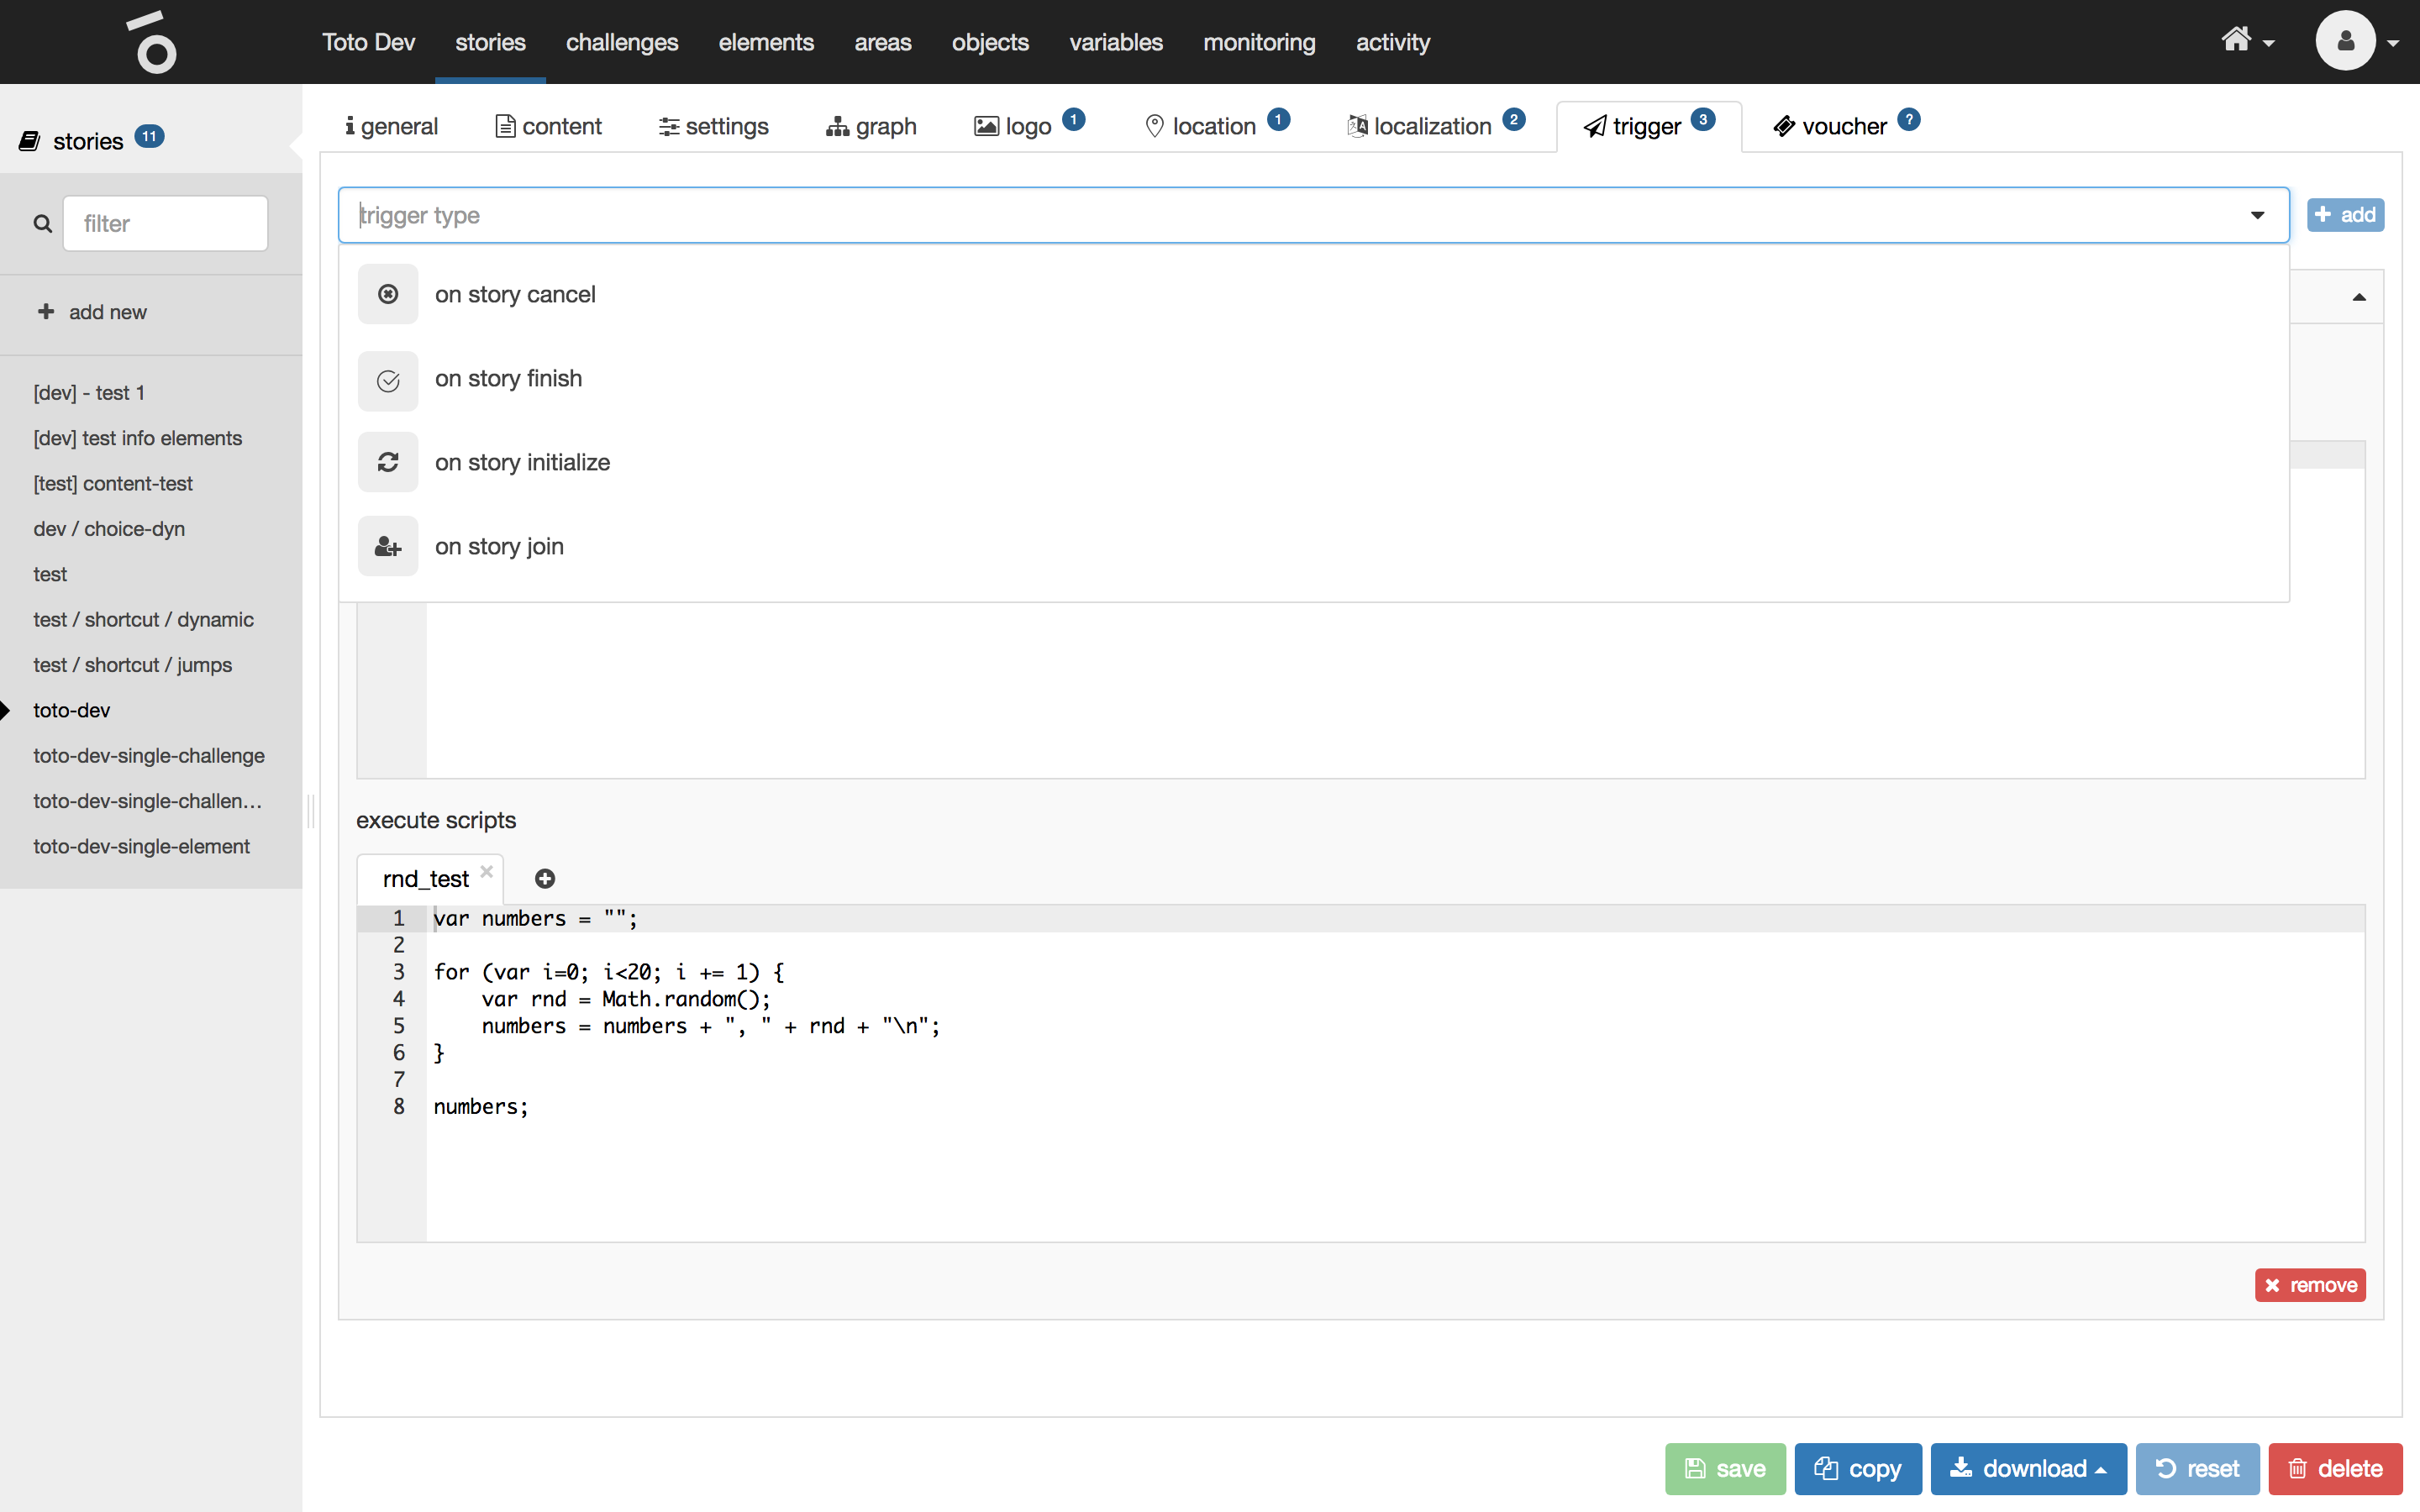
To add a new trigger type select one from the list at the very top and click on the button add.
To add a new trigger click on the + button within the trigger type section tabs, select an TotoObject and define the payload.
Types
| name | description |
|---|---|
on story init |
Fired when a story has been initialized. In this state other users can be invited. The story has not been started at this point. |
on story start |
Fired when when a story has been started. The first challenge / element has been released. |
on story join |
Fired when a user confirmed his invitation and joined the initialized story session. |
on story cancel |
Fired when a story has been quitted/canceled. |
on story finish |
Fired when a story has been finished (final challenge has been finished). |
Voucher
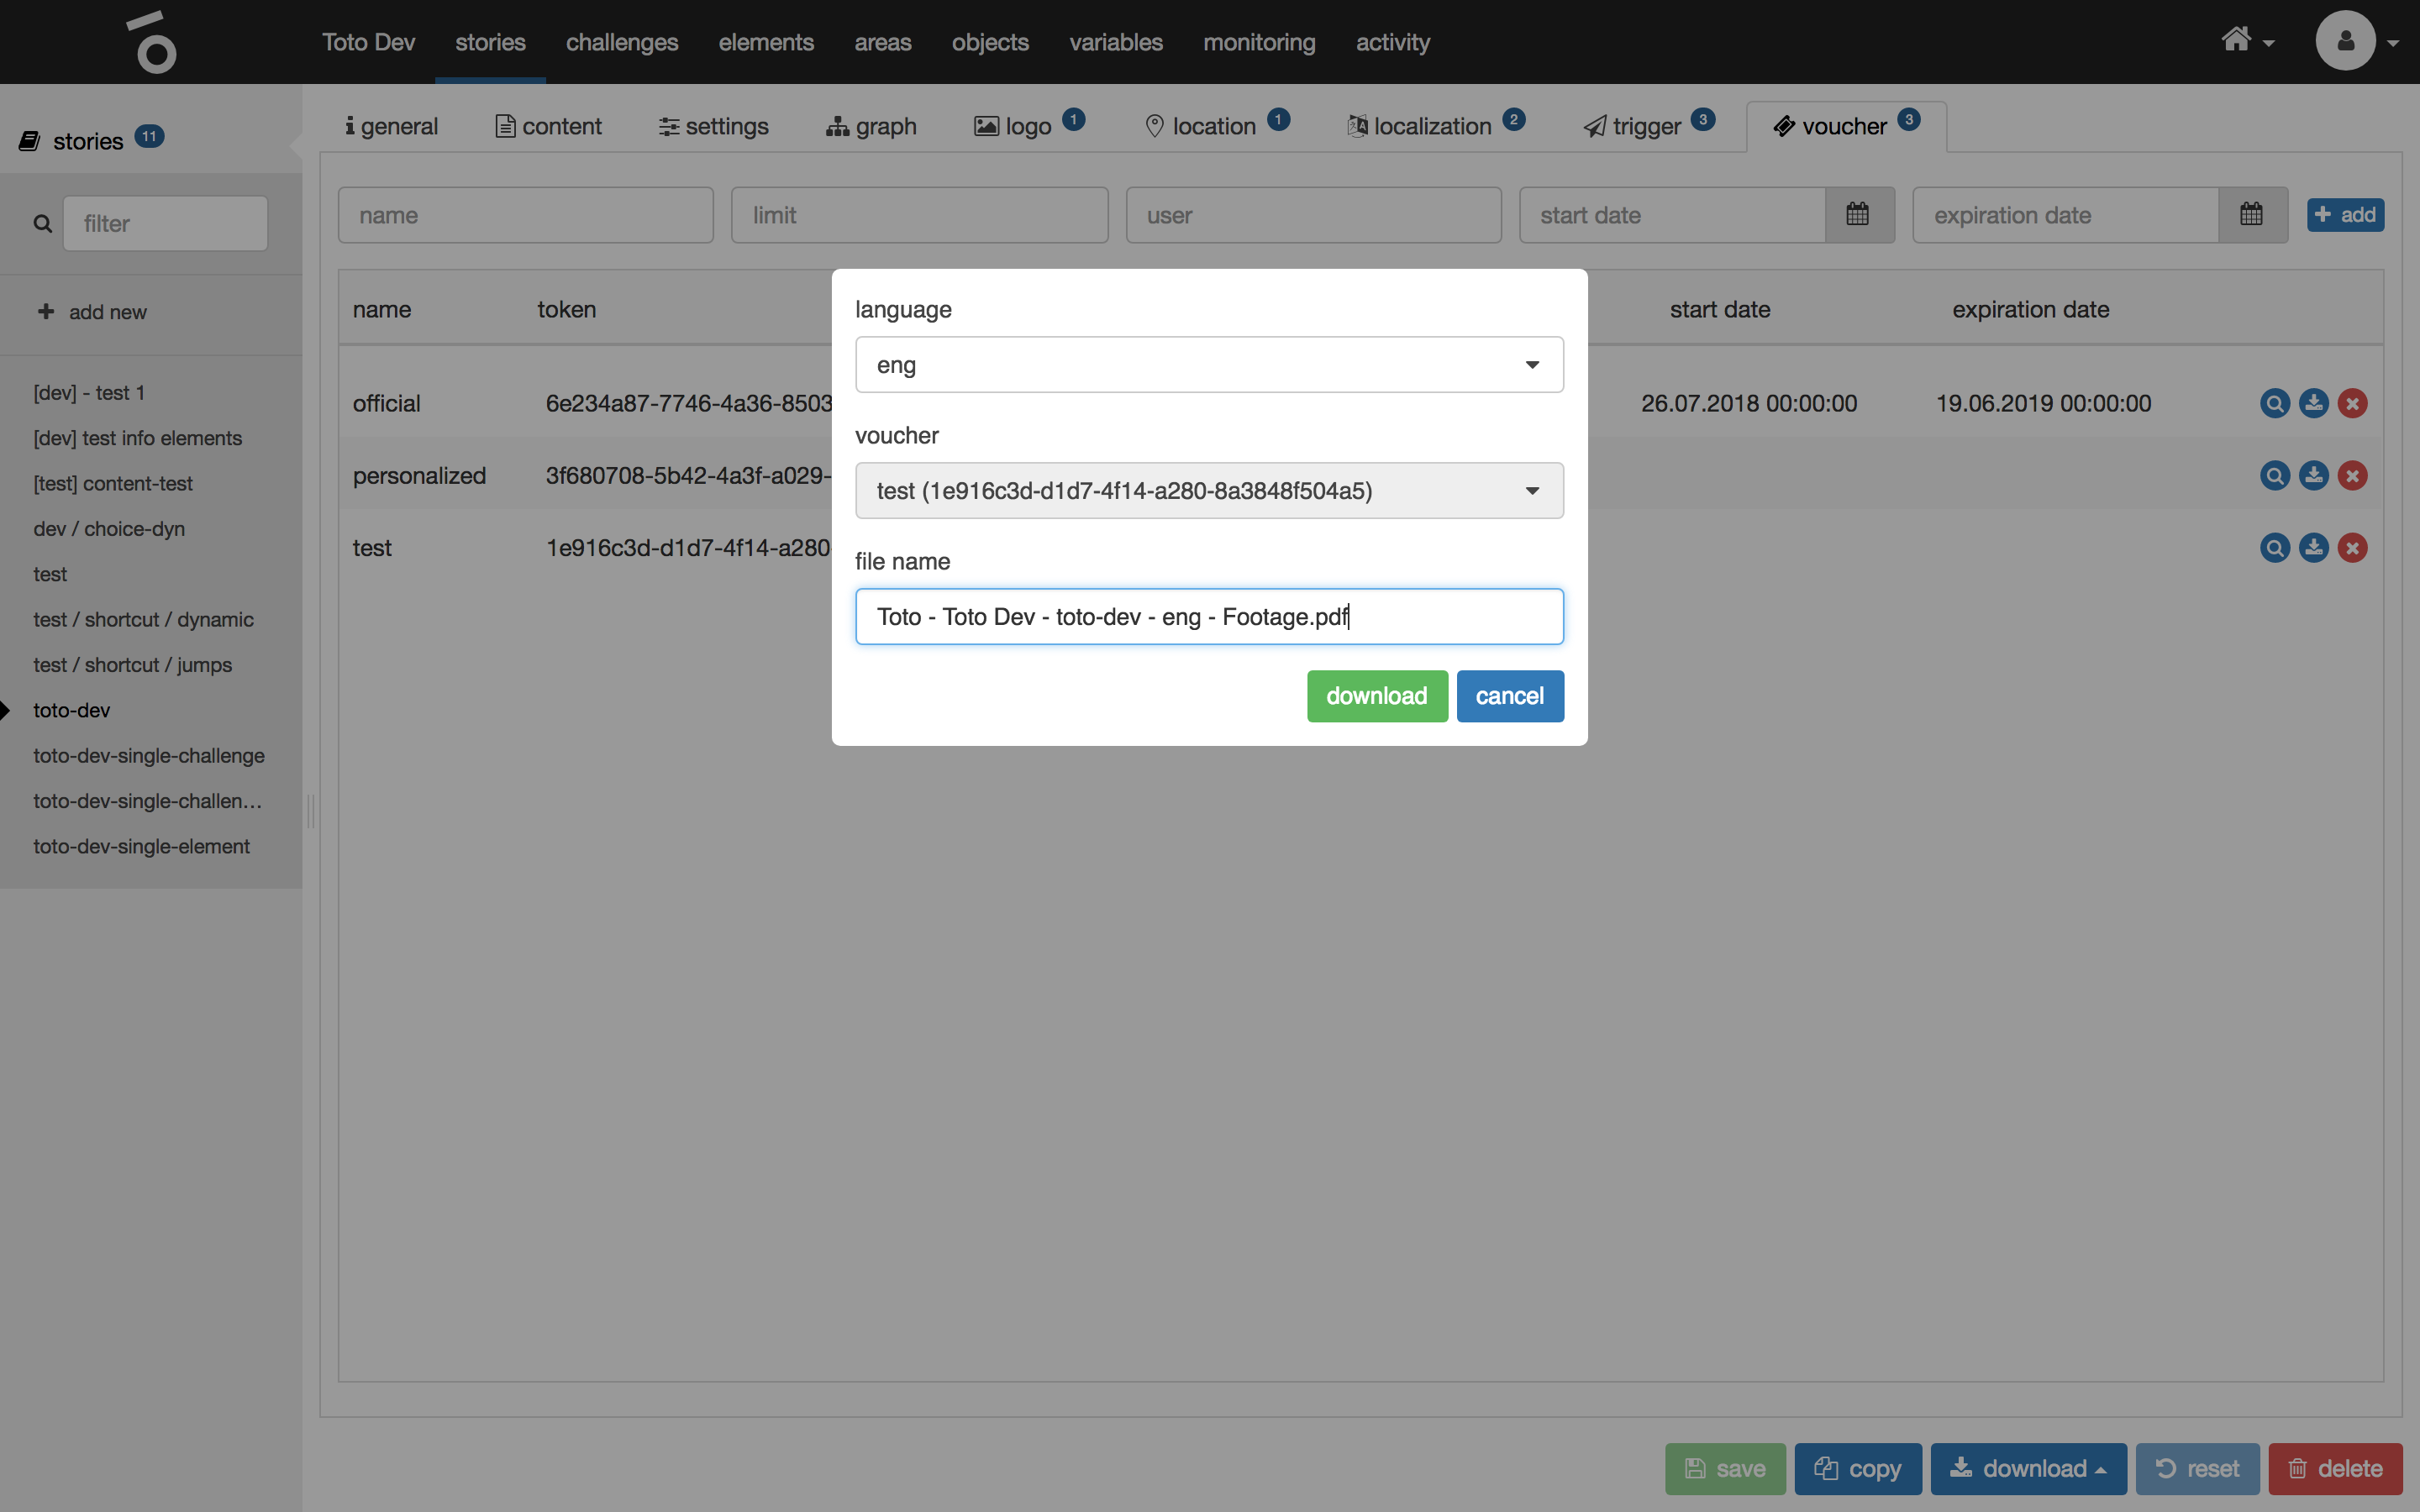
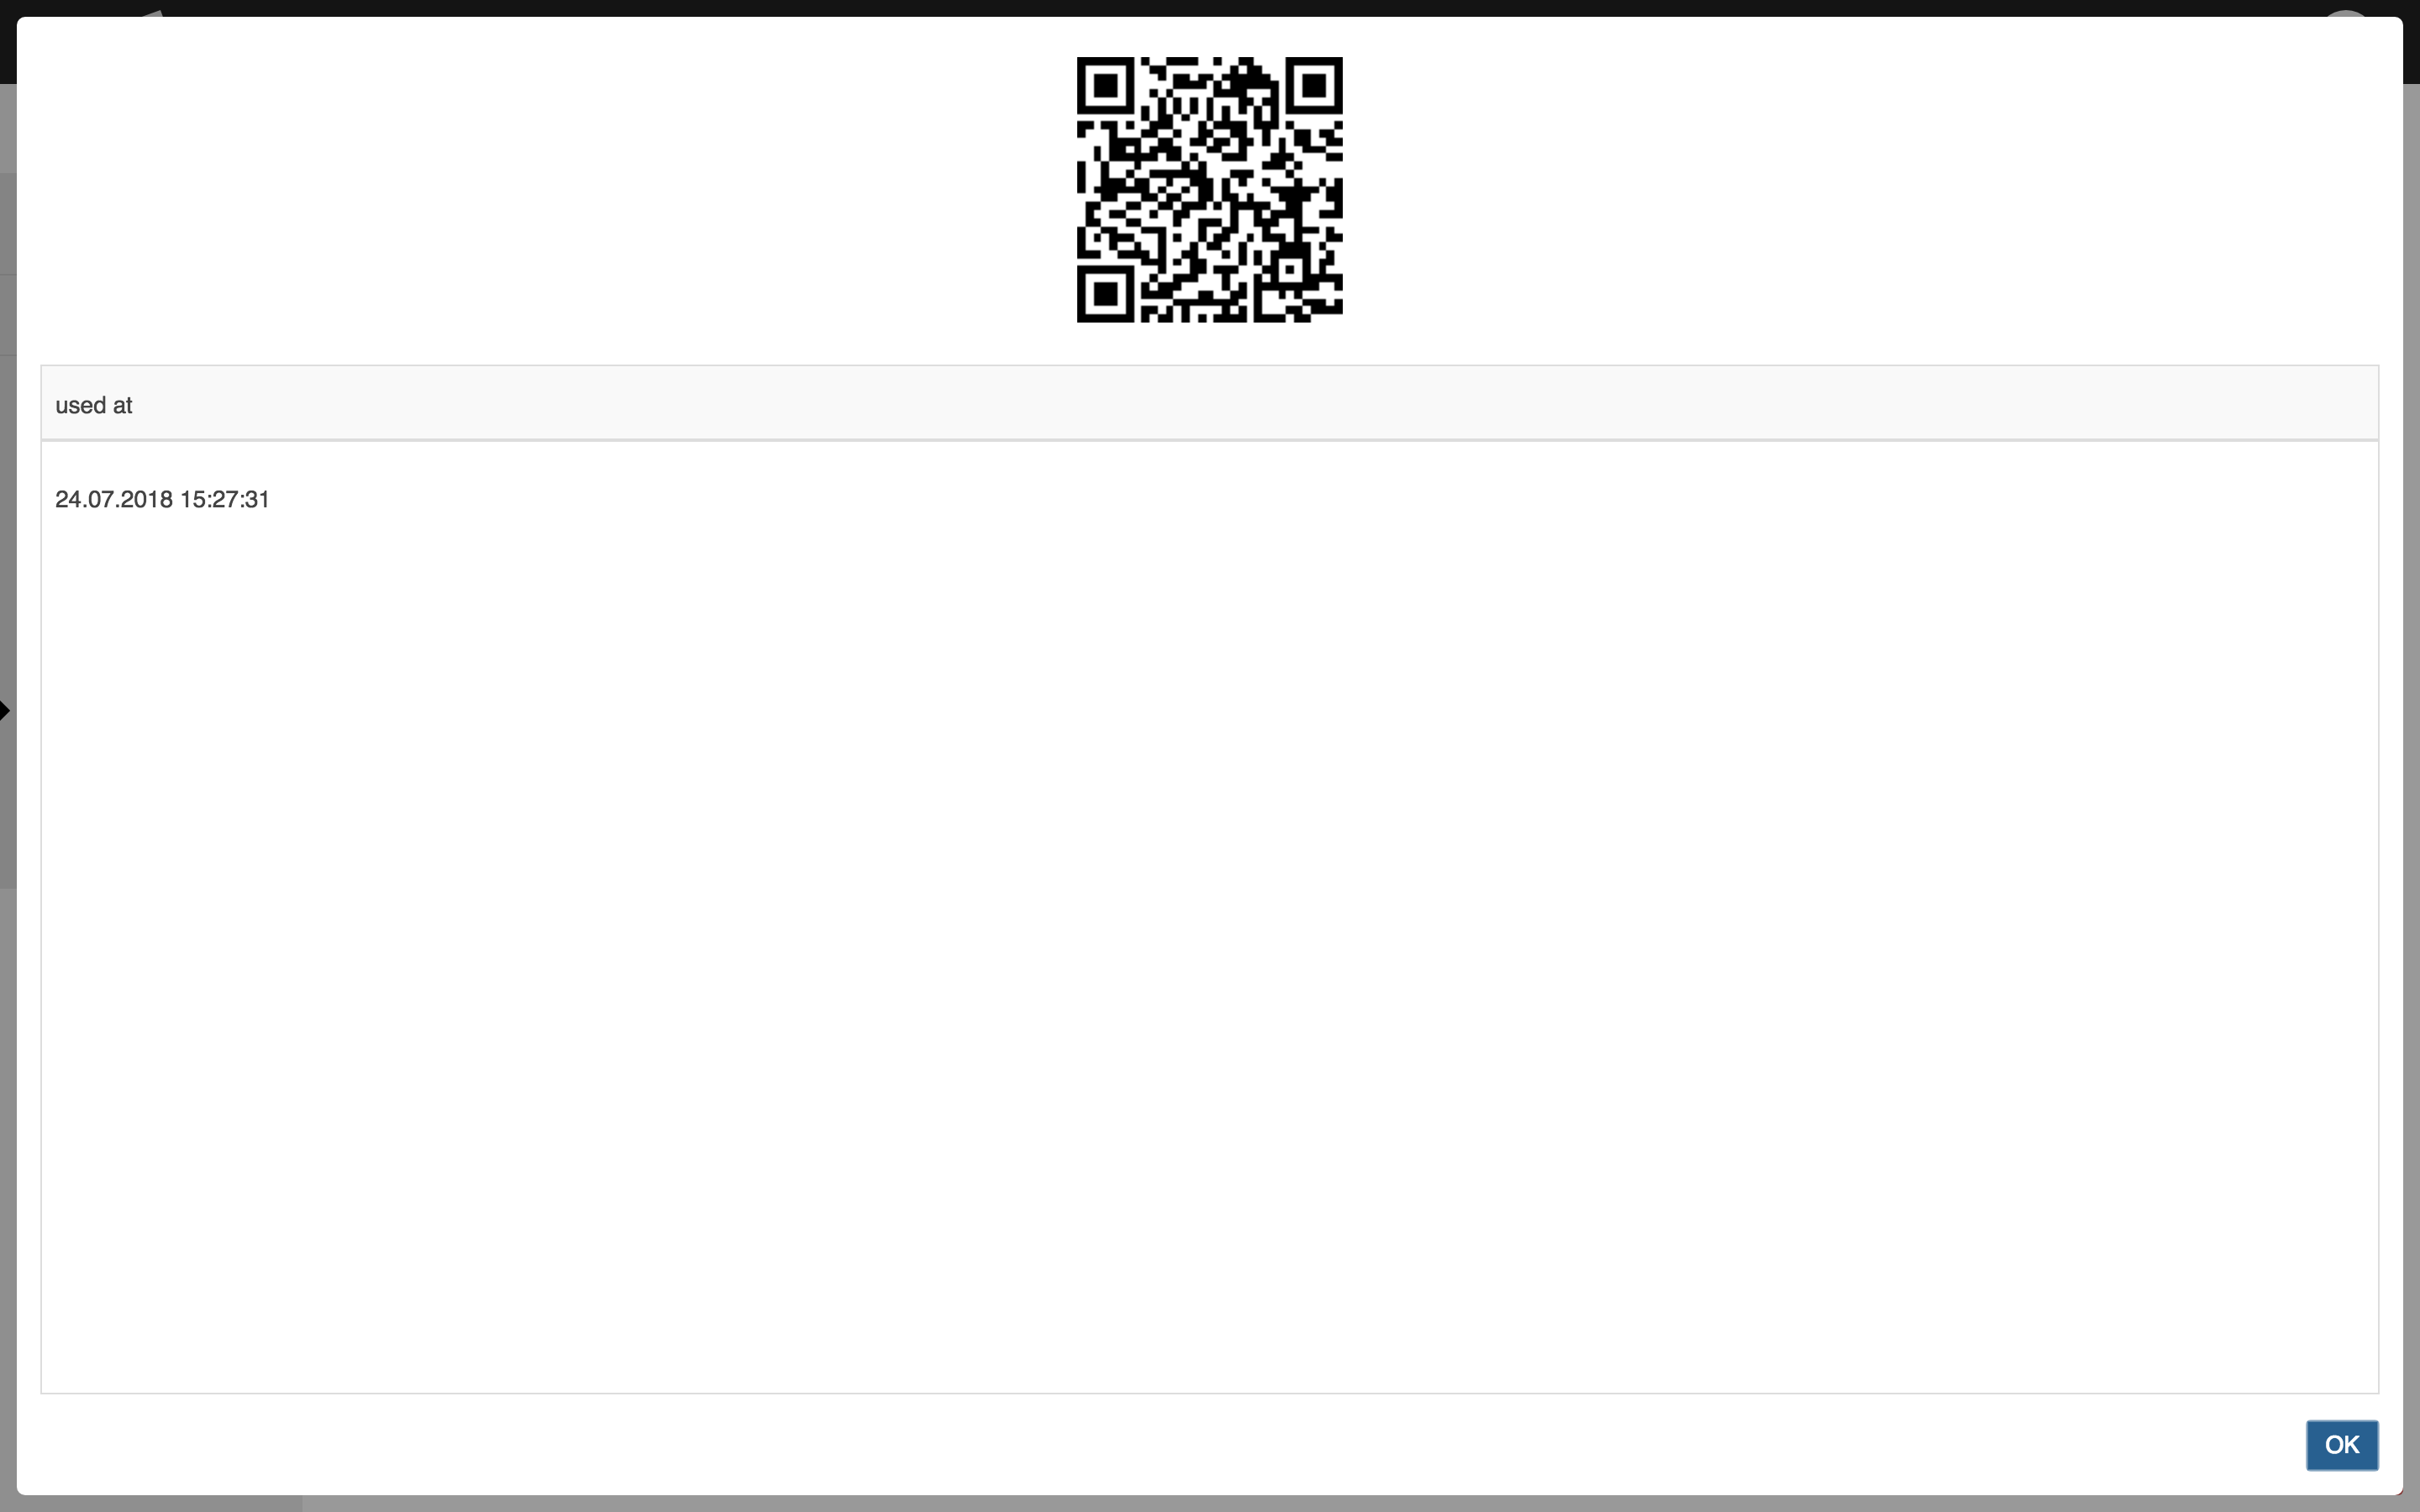
The voucher tab of a selected story shows a list of vouchers to start the story with. A voucher can be restricted to be used by a specific user and/or til a specific date and/or a specific amount of times.

Add a new voucher by clicking on the button add after defining the name and the restrictions max usage, usable by, start date and expiration date.
Invalidate a voucher by clicking on the red button at the very right.
Show details of a voucher by clicking on the blue detail button at the very right.
Download a voucher by clicking on the blue download button at the very right.